Storyboards and programmatic iOS development: part 1
This is the first post in a series of three where I will compare developing for iOS via storyboards and programmatically.
We’ll do that by building a sample application using storyboards and then build the same app again entirely in code.
Before we get started, I want to be clear about the target audience of this so you have an idea of whether or not it’s for you before jumping in.
You should have some knowledge of Swift itself, meaning you might’ve gone through the first 15 days of Paul Hudson’s 100 Days of Swift (which covers everything from variables to optionals and classes) or something similar.
Ideally, you’ve also completed the first project or two of Hacking With Swift (again, or something similar) which means you have some sort of idea about what a view controller is or what storyboards are.
These aren’t hard requirements since I will still do my best to fill in any gaps, but my goal isn’t to teach Swift or iOS development from scratch. This will mainly be geared towards beginners, but it's possible you may pick up something new if you're beyond that.
I’m going to break the comparison down into three different articles:
- A quick introduction and building an example app with a storyboard (you’re here!)
- Building the same app programmatically
- A recap of what we did, the differences between the two apps, and where to go from here
Read on for the first part of the series.
Storyboards
First, let's start with a little background.
Many tutorials, including Apple's own beginner books in the Books store, begin teaching iOS development by using storyboards.
A storyboard is a special file with a .storyboard extension, which, at its core, is a bunch of XML rather than pure Swift code.
Beyond that, they are essentially canvases where you can add and position user interface objects - like buttons, text fields, and more - to design the screens of your applications and the transitions from one to another.
From there, you can customize different properties of the objects like their color, size, positioning, and more before connecting them to actual code and making them do something.
This is usually the preferred way to get started with iOS development because it is visual and more approachable. There also tends to be less code since many things are handled for you. Xcode provides you with a blank storyboard to start with when you create a new project.
Programmatic development
On the other hand, programmatic development is an approach where, instead of dragging objects onto a canvas and laying out your user interface with your mouse, everything is set up, created, customized, and positioned on the screen using code.
This tends to be more manual and can involve more boilerplate code, but it can give you more control and make it easier to follow exactly what's being done.
Mentally, there can also be fewer context switches required since you don't need to move back and forth between a storyboard and your code but rather you'll work entirely in the code.
An example app
Building the app with Storyboards
Now that we have a basic idea of what the two approaches are, let's dive in and make a sample app using both of them.
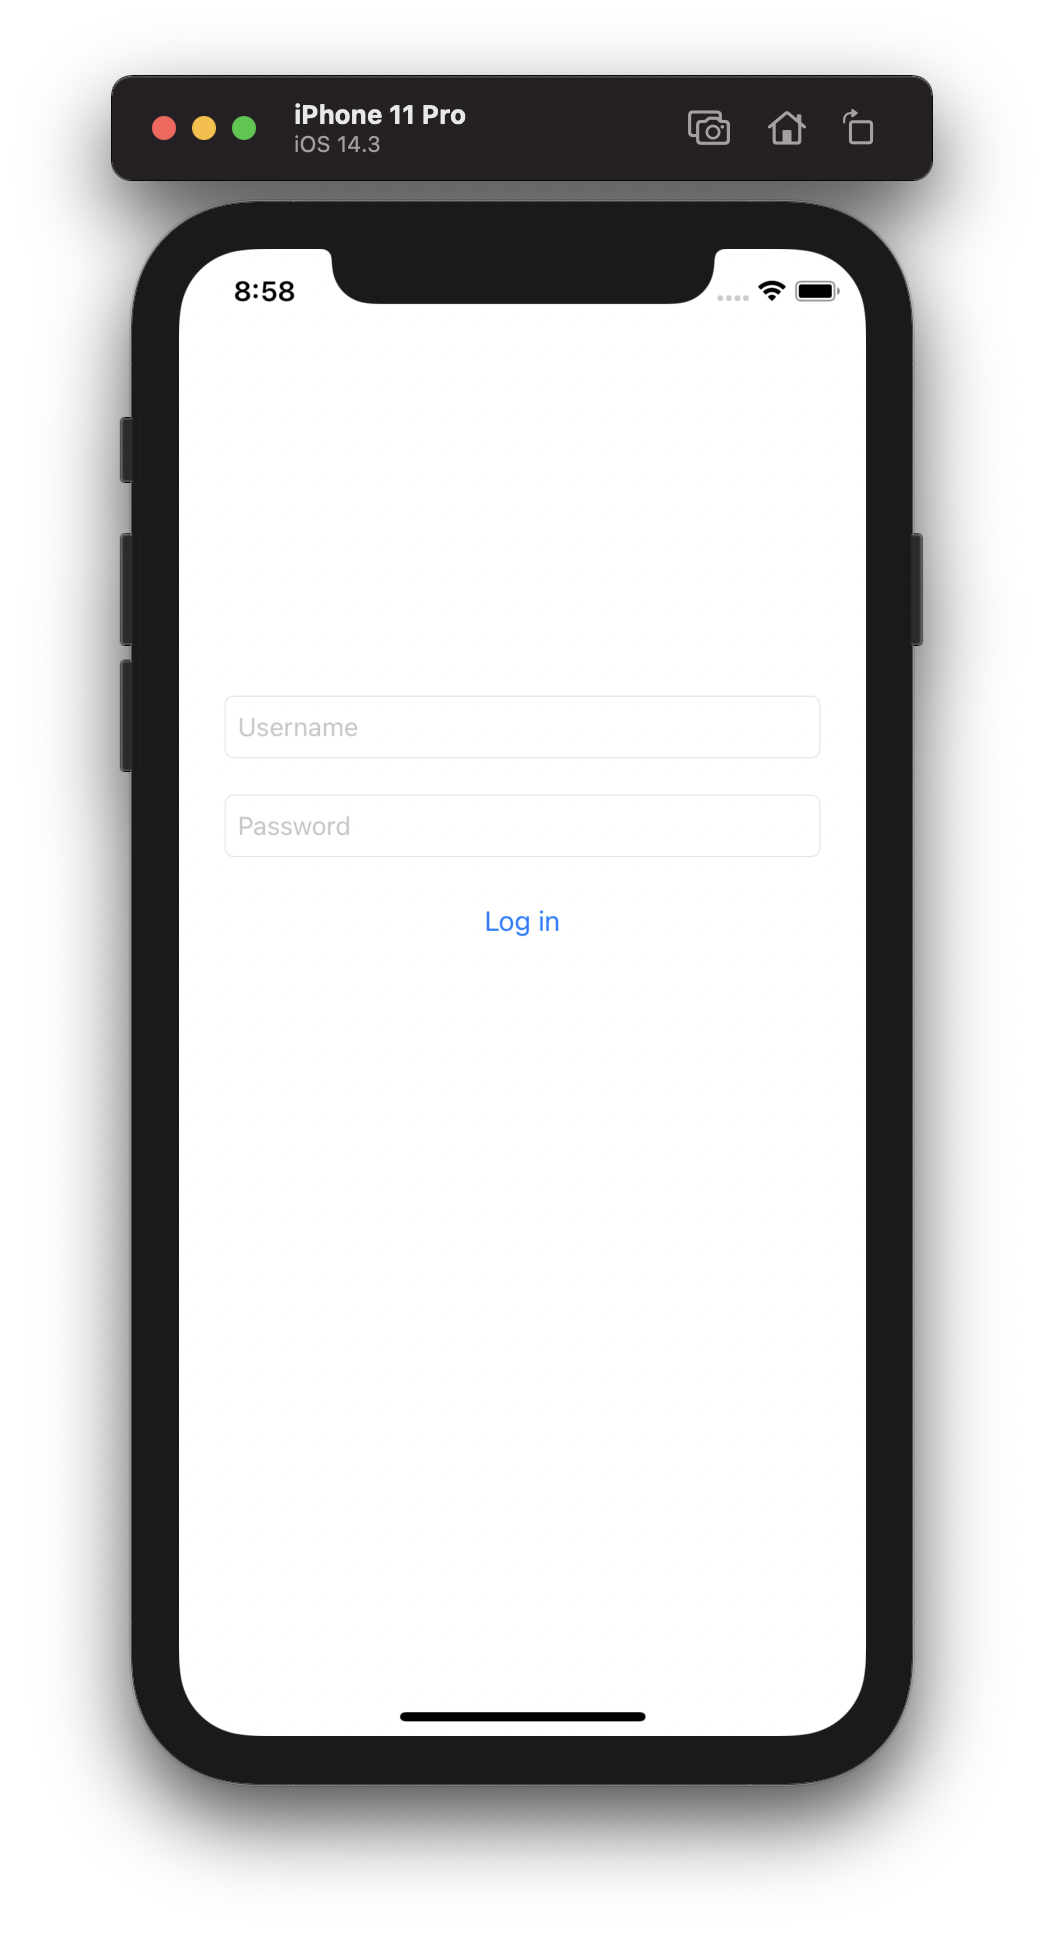
We're going to build an app that mimics a login page, so there will be two text fields for a username and password, and a login button which will display an alert that says whether the information is correct or not.
Let's start with the storyboard approach.
Open Xcode, click “Create new Xcode project,” and choose “App” in the iOS tab. For the Product Name, you can name it whatever you want, but give it something meaningful in case you come back to it later.
Make sure the Interface dropdown has “Storyboard” selected and not “SwiftUI.” Ensure the Language is set to Swift and that the Core Data and Include Tests checkboxes are left unchecked.
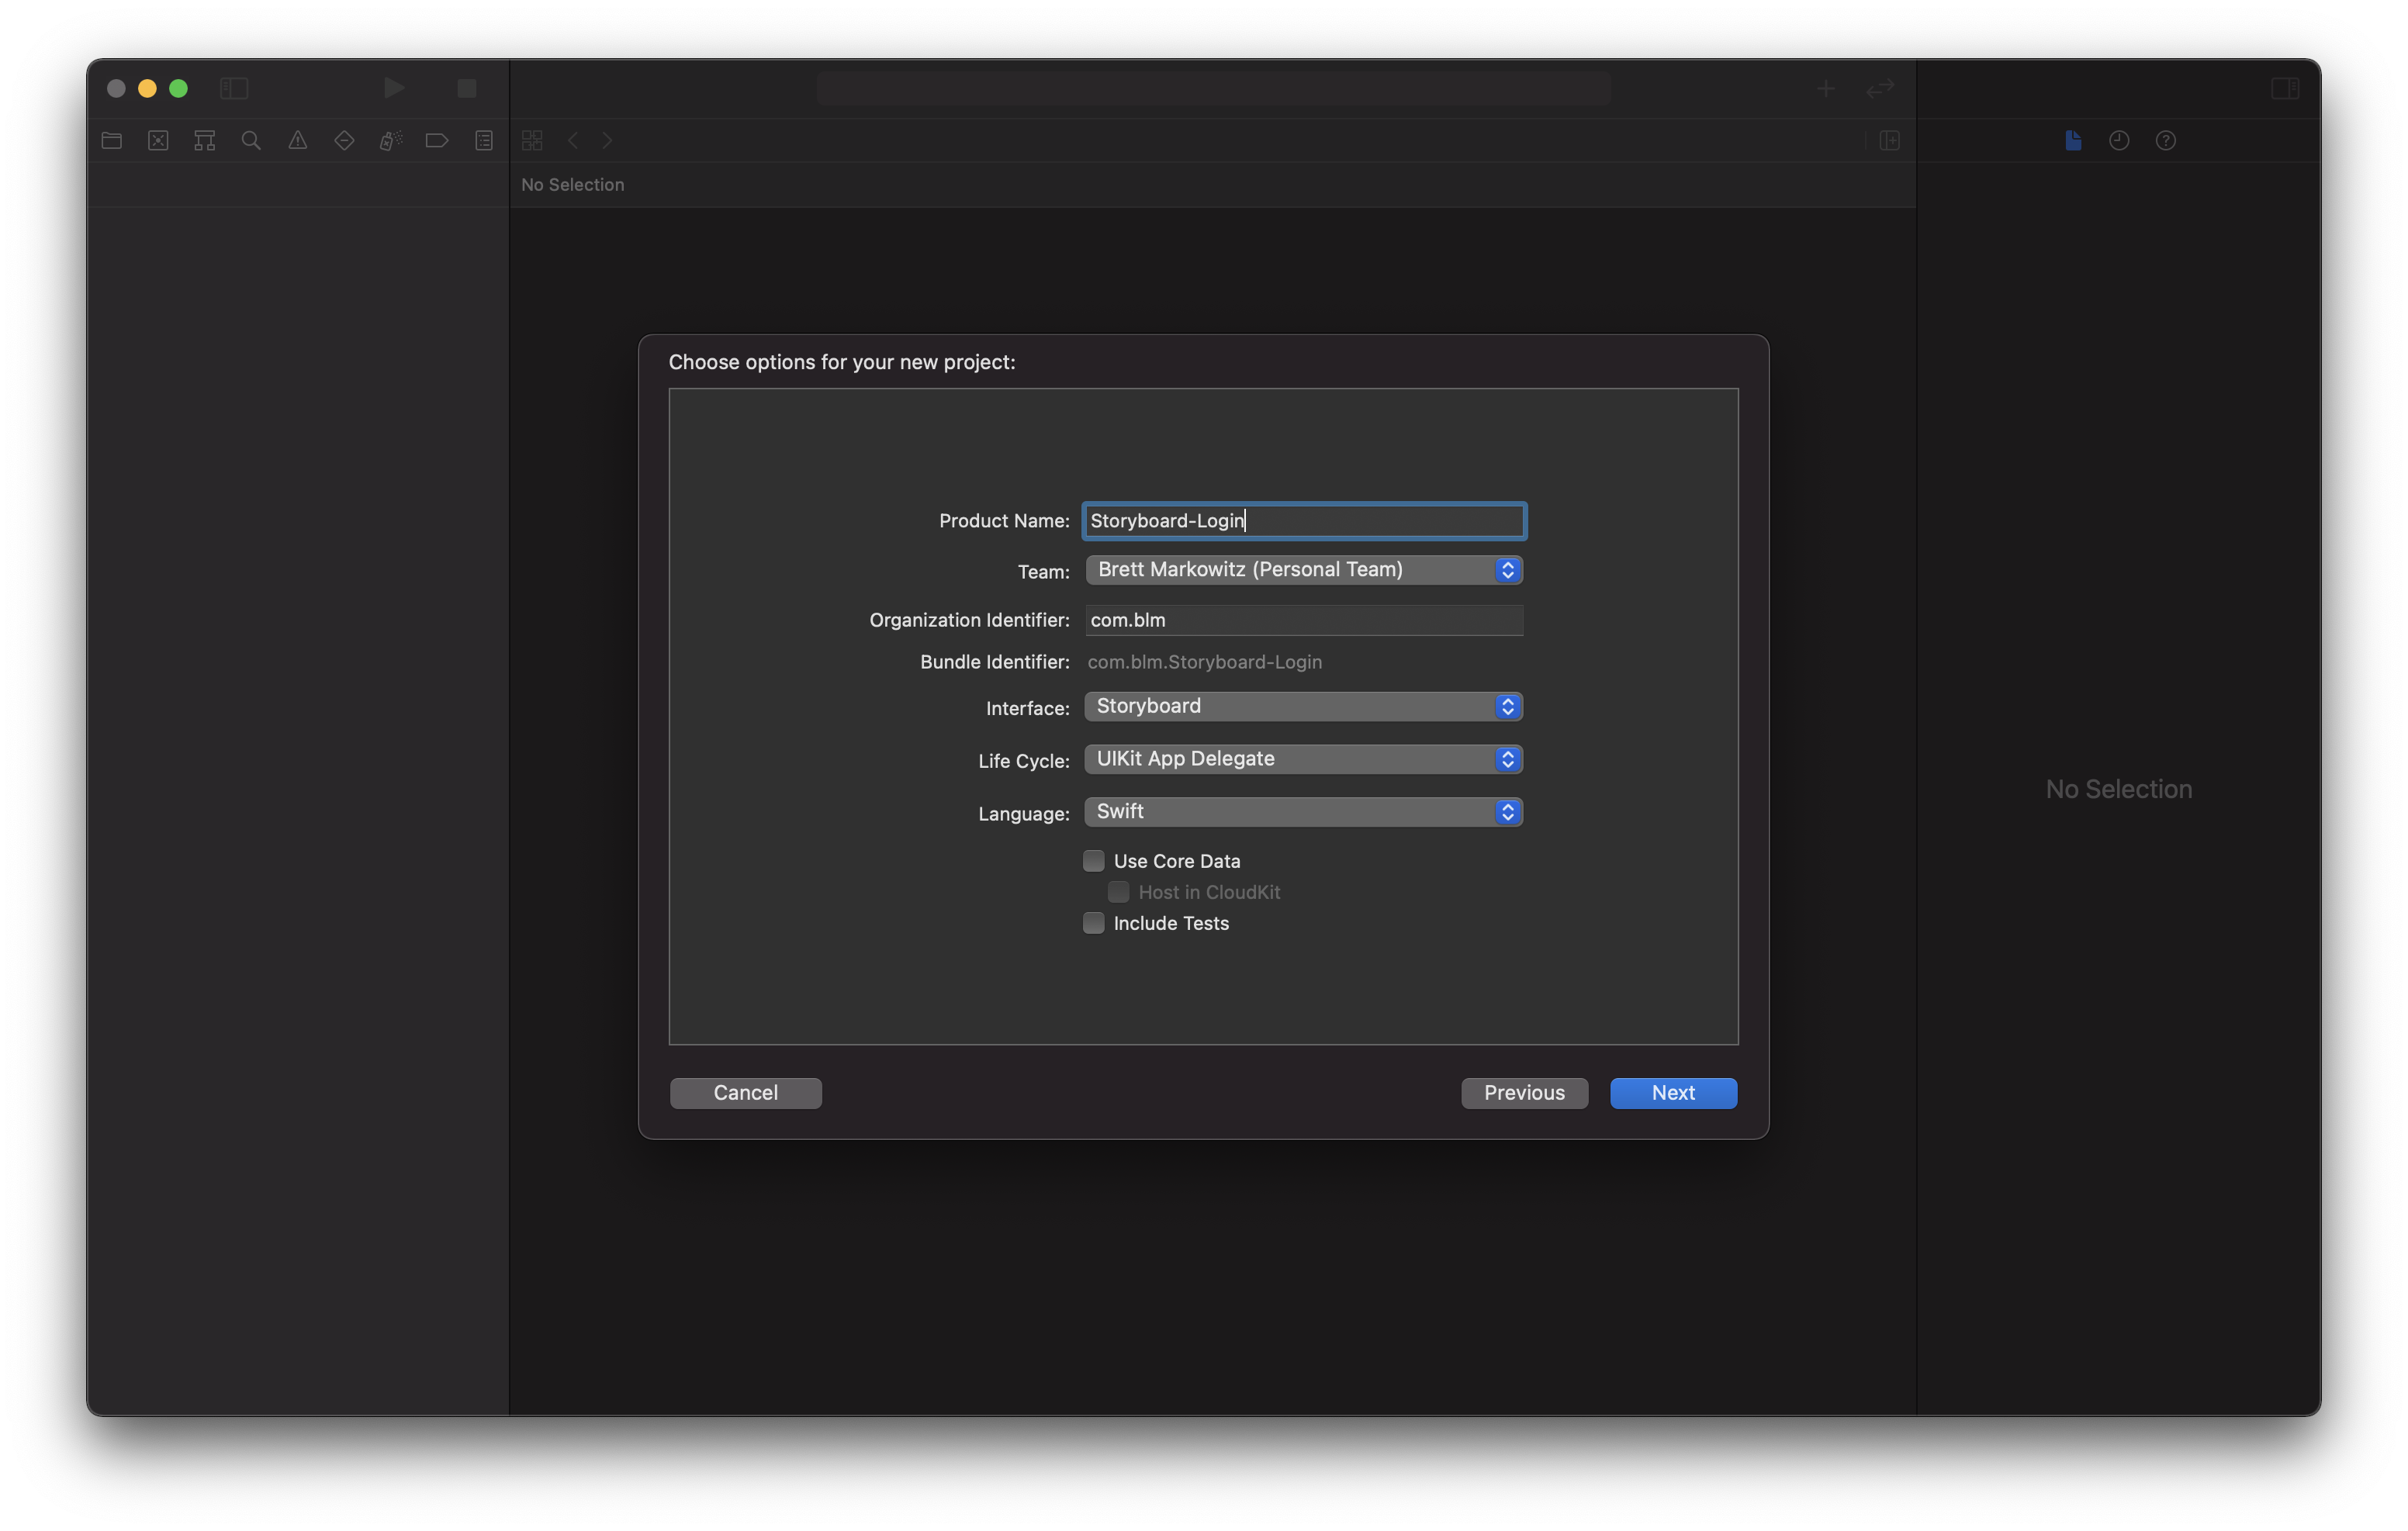
Then, hit Next and choose a place to save the project.
When that's all done, you should see several files in the left sidebar and one of them should be called Main.storyboard. Click it to open it and after it loads, you should see a blank canvas in the shape of an iPhone. This canvas sits in what's known as Interface Builder, which gives us access to all of the tools we need to design the screens of our app.
This is where you'll drag, place, and position the user interface objects that you want on this particular screen. Let's place our first element: a text field.
At the top right, look for a "+" button which should say Library when you sit your mouse on top of it. When you click it, you'll see a small window appear, which combines together three different types of libraries: the Object Library, the Image Library, and the Color Library.
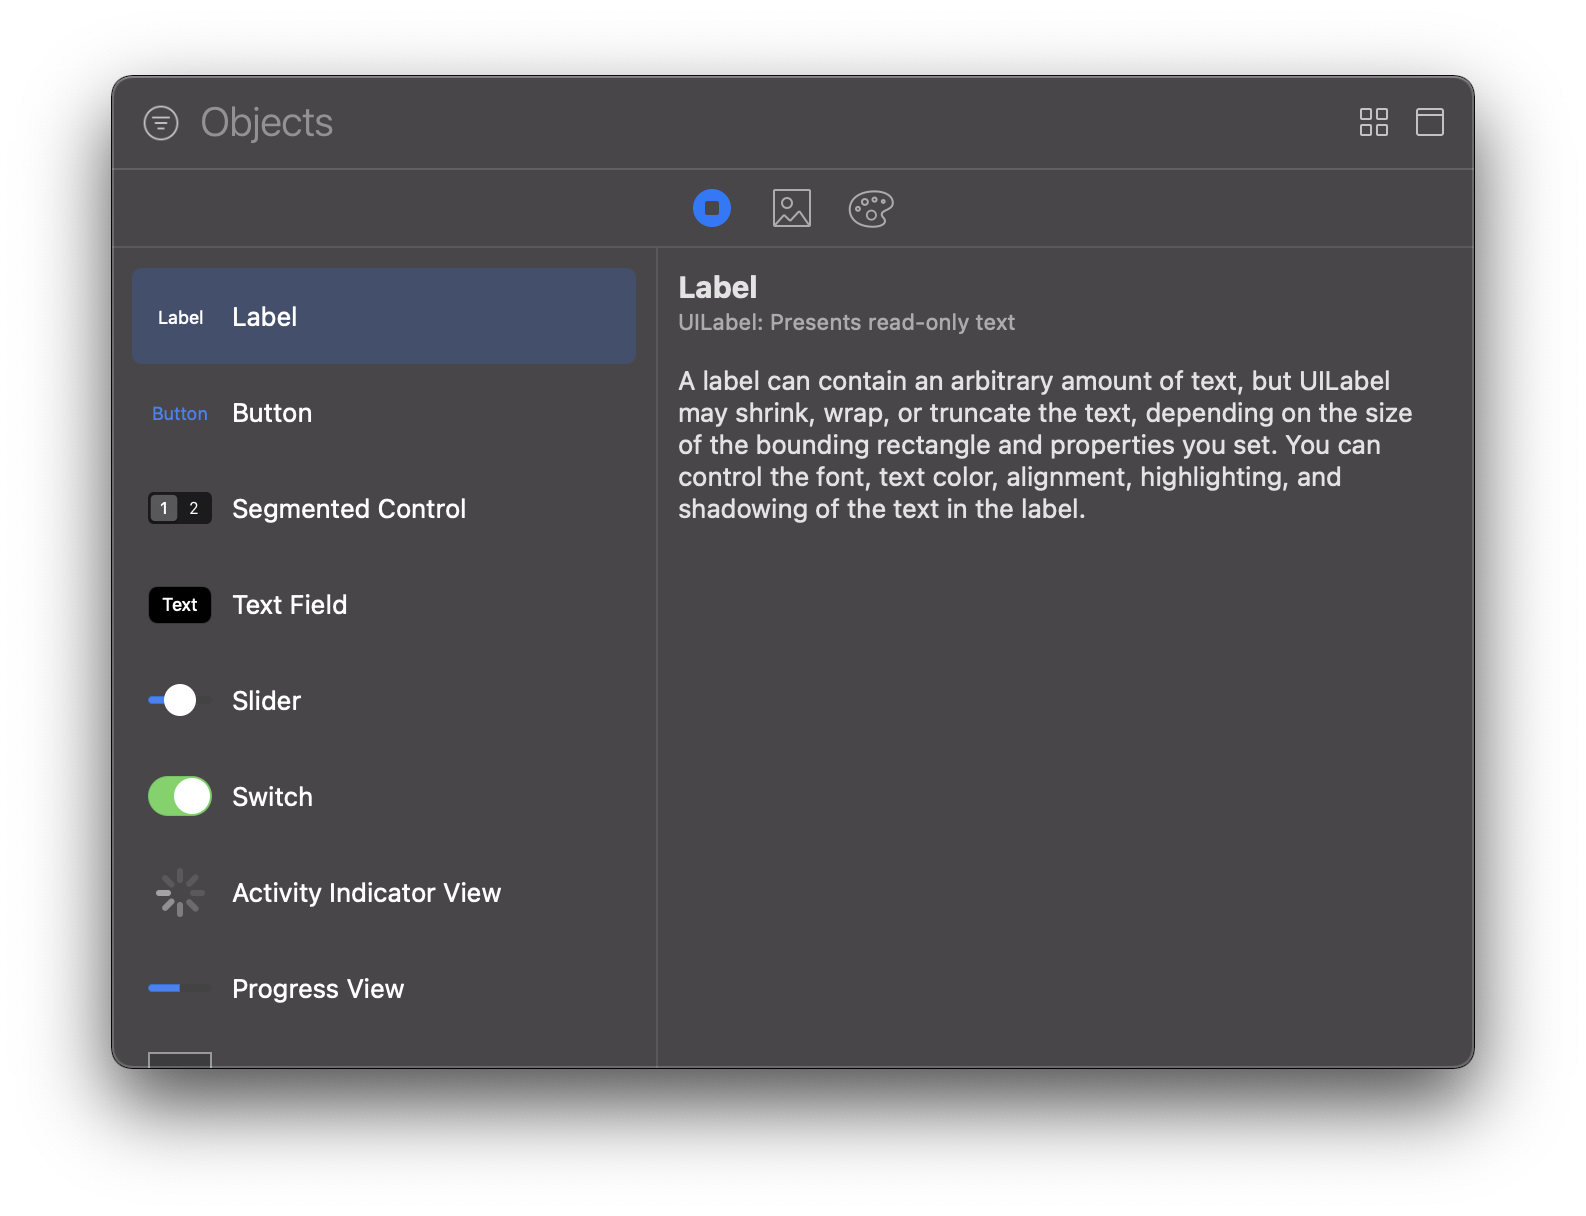
For now, we'll just focus on the Object Library, which is where all of the possible user interface objects that can be used in an app live. You should see "Text Field" as one of the first objects in the list. If you don't, you can start typing in the search box and it should appear.
Once you've found it, you can click and drag it onto the storyboard, and when you do that, you should notice that the canvas turns slightly blue. You might also see some alignment guides you help you position it at the very center or other common locations.
We're not too concerned about how things look just yet, but try to place this text field somewhere near the center.
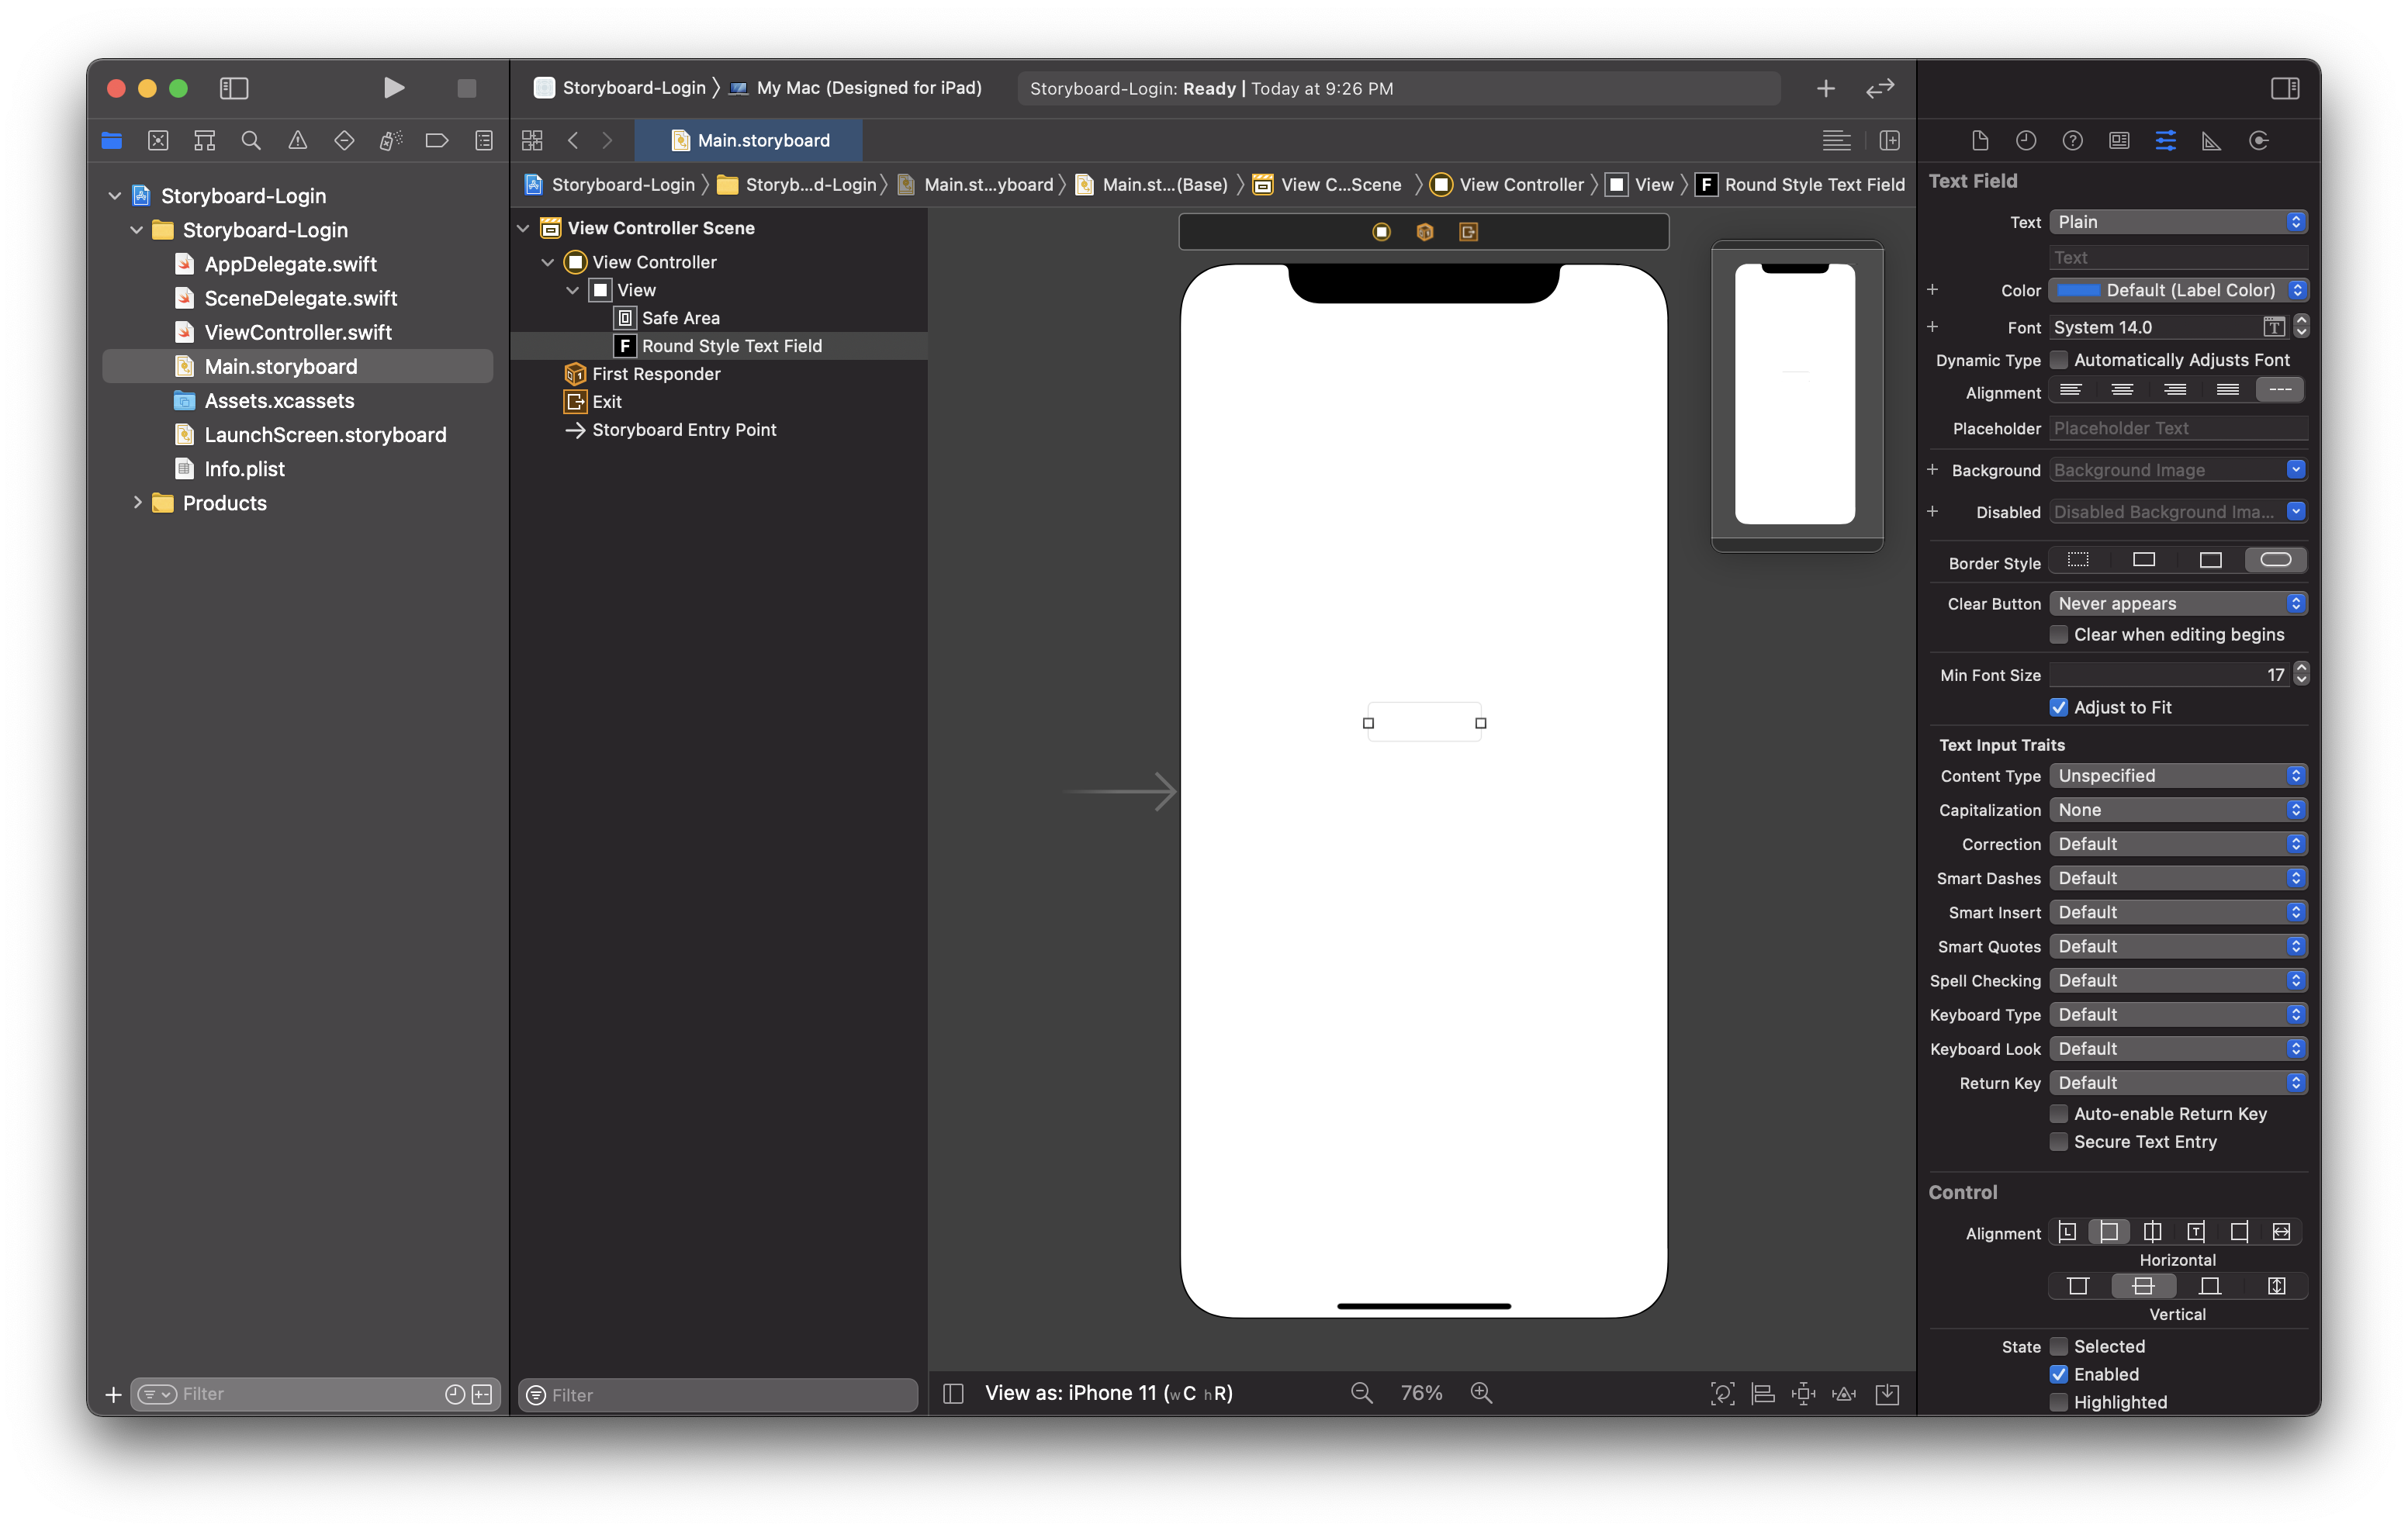
You should now see a small, white box with a gray border. It doesn't really look too much like a text field so far, so let's customize some of its properties.
To do this, we'll need to make use of the Inspectors. You can make sure they're visible by looking for this icon at the very top right of Xcode:
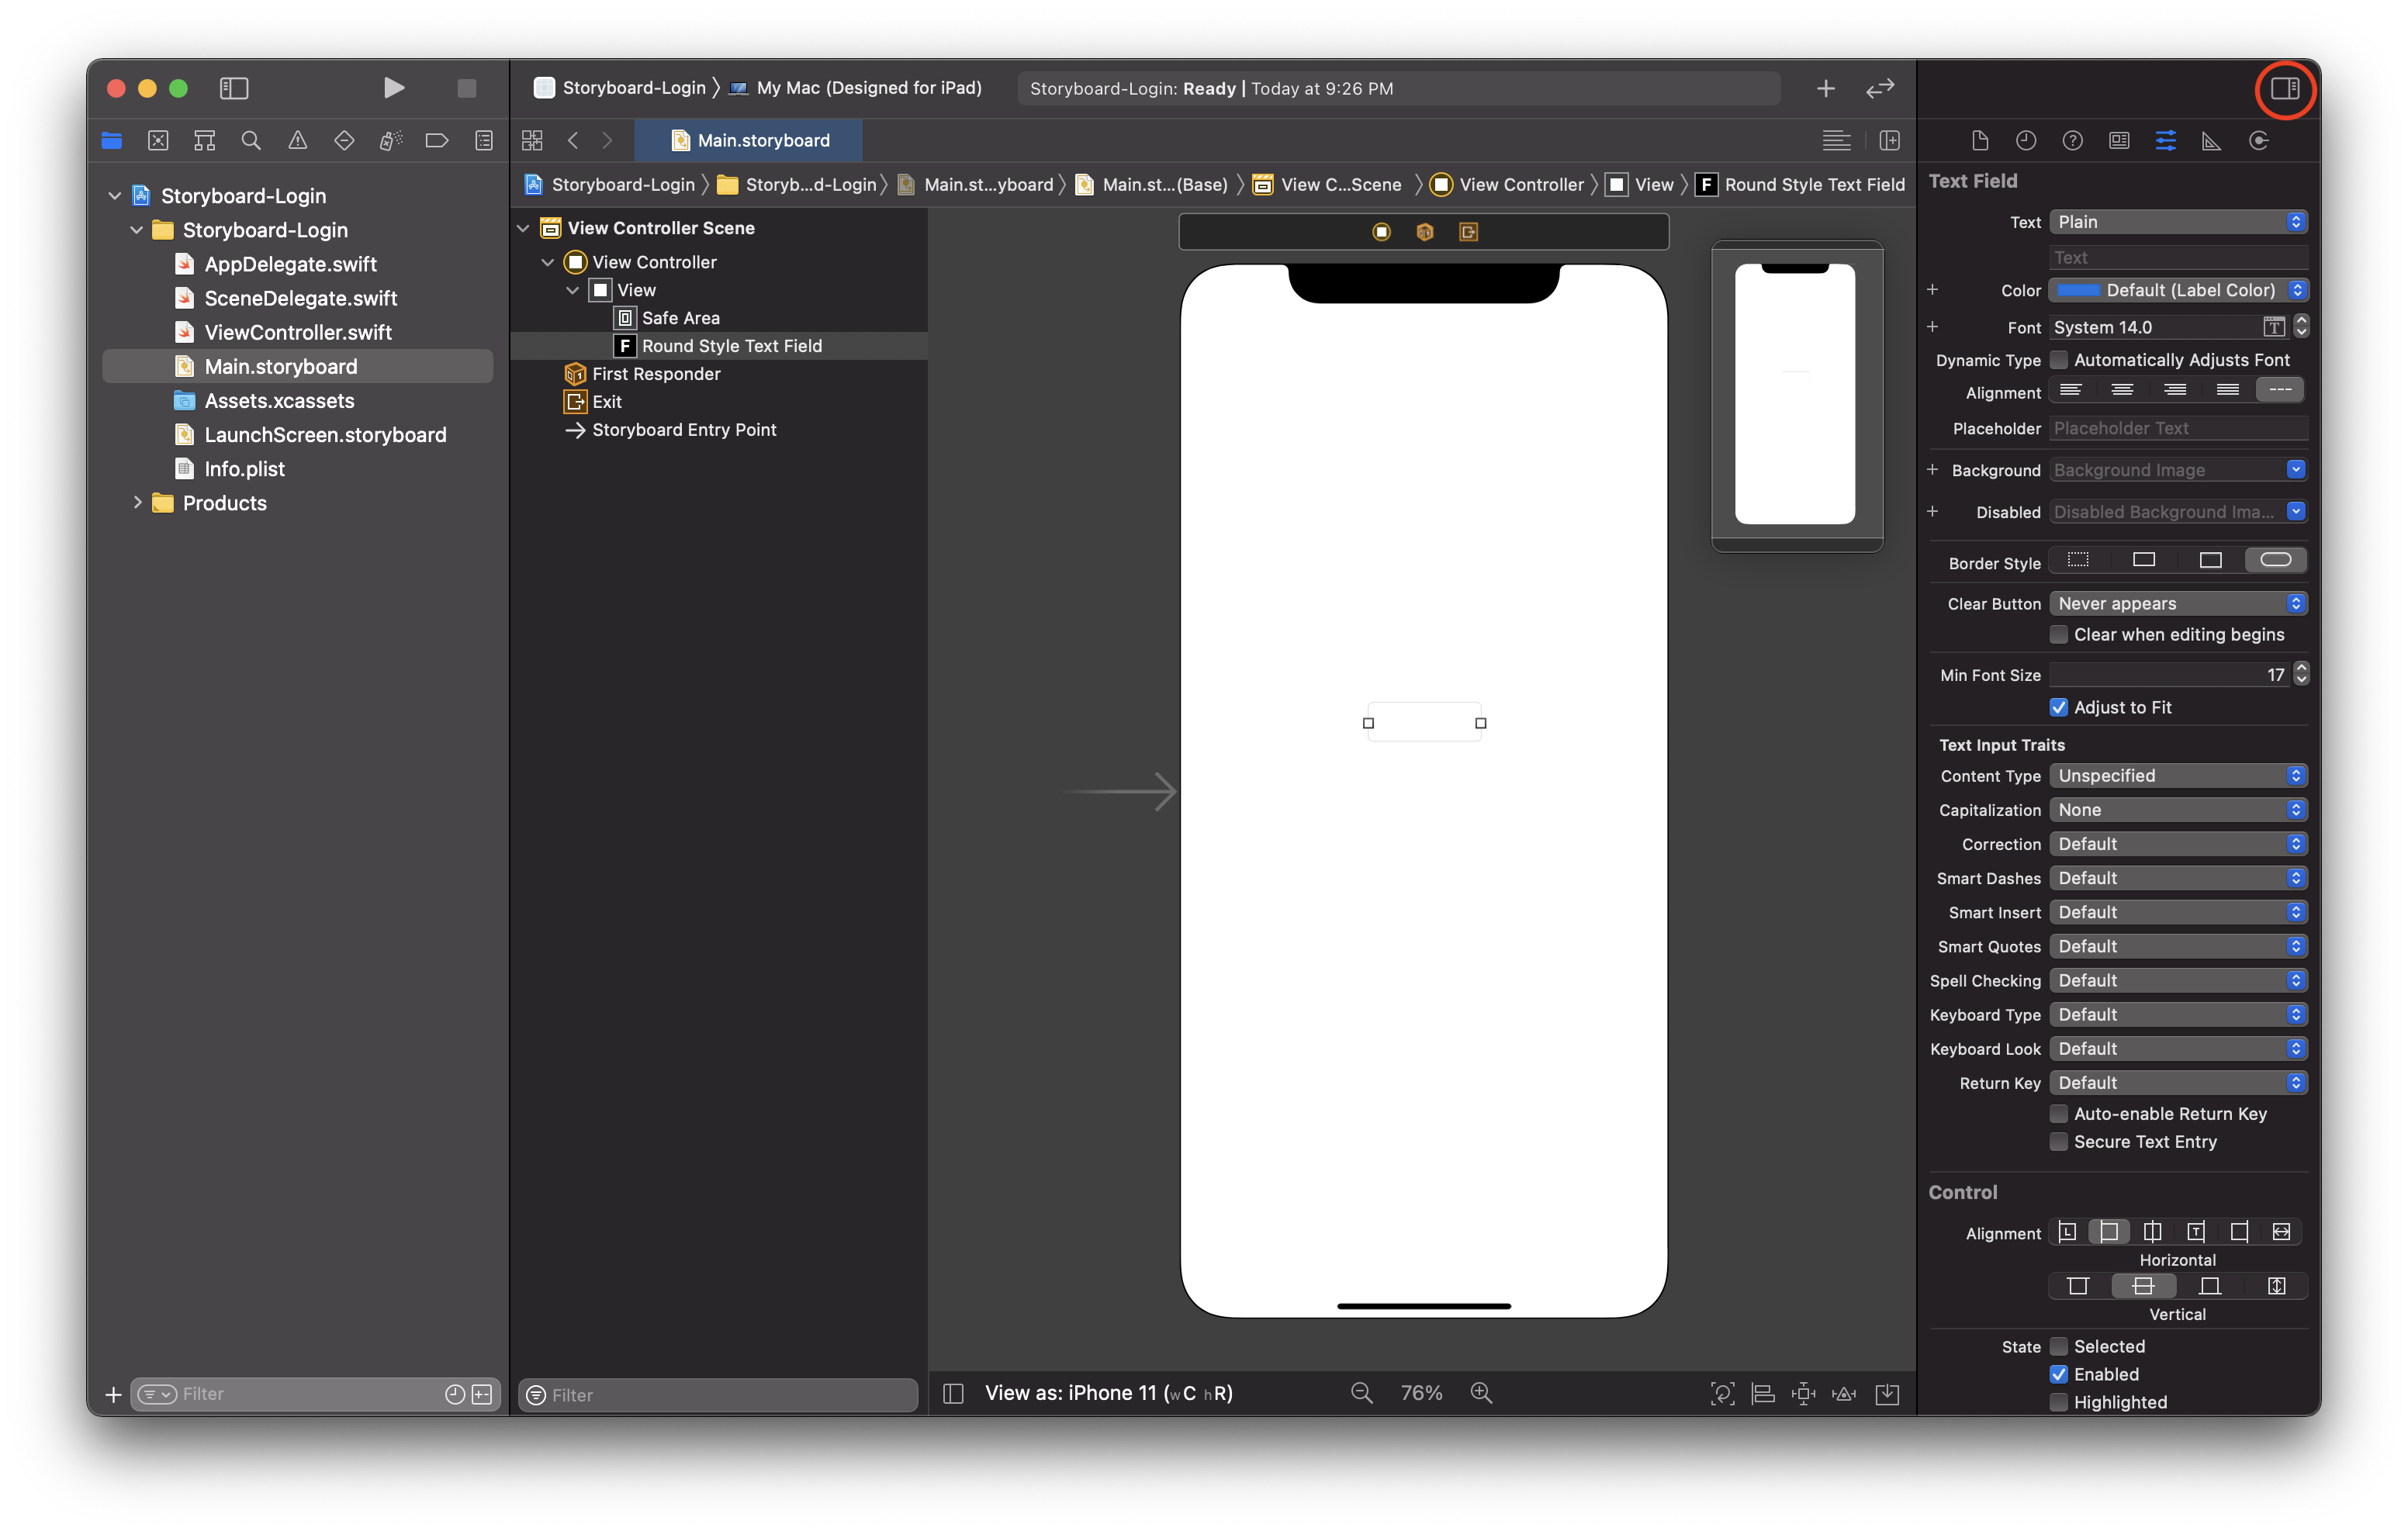
If you don't have a sidebar at the right of the screen, click that button to expand it and the Inspectors should appear. The Inspectors let you customize various properties of the objects on the storyboard, among other things.
To customize our text field, click it on the canvas and then in the right sidebar, ensure that you're on the tab that has the icon of three horizontal sliders. This one is known as the Attributes Inspector. Like the name implies, it allows you to customize the attributes of the element you have selected on the canvas.
The one we're going to modify first to make it look more like a login text field is the one that says "Placeholder." In the box next to that, type "Username" and hit enter. The text field on the storyboard should be updated with the gray placeholder text.
Let's set one more property under the Text Input Traits header. Select the Content Type dropdown menu and set it to Username at the bottom of the list. This gives iOS a better idea of what this field is going to be used for so it display the appropriate keyboard or tailor the autocorrect.
You can see a whole bunch of other properties to customize which you can mess around with if you're curious, but for this example we'll stick with these for now.
Let's go ahead and add another text field for entering a password. Head to the Library at the top right again and place another text field just below the Username field, then set its content type to "Password."
For our third and final UI element, we'll add a log in button which, when we're all done, will trigger a check of the credentials that we type into the text fields. Go ahead and grab a Button from the Library and place it below the two text fields.
This time, we're only going to change the text of the button, so look for the Title field in the Attributes Inspector and change the title from "Button" to "Log in" and hit enter.
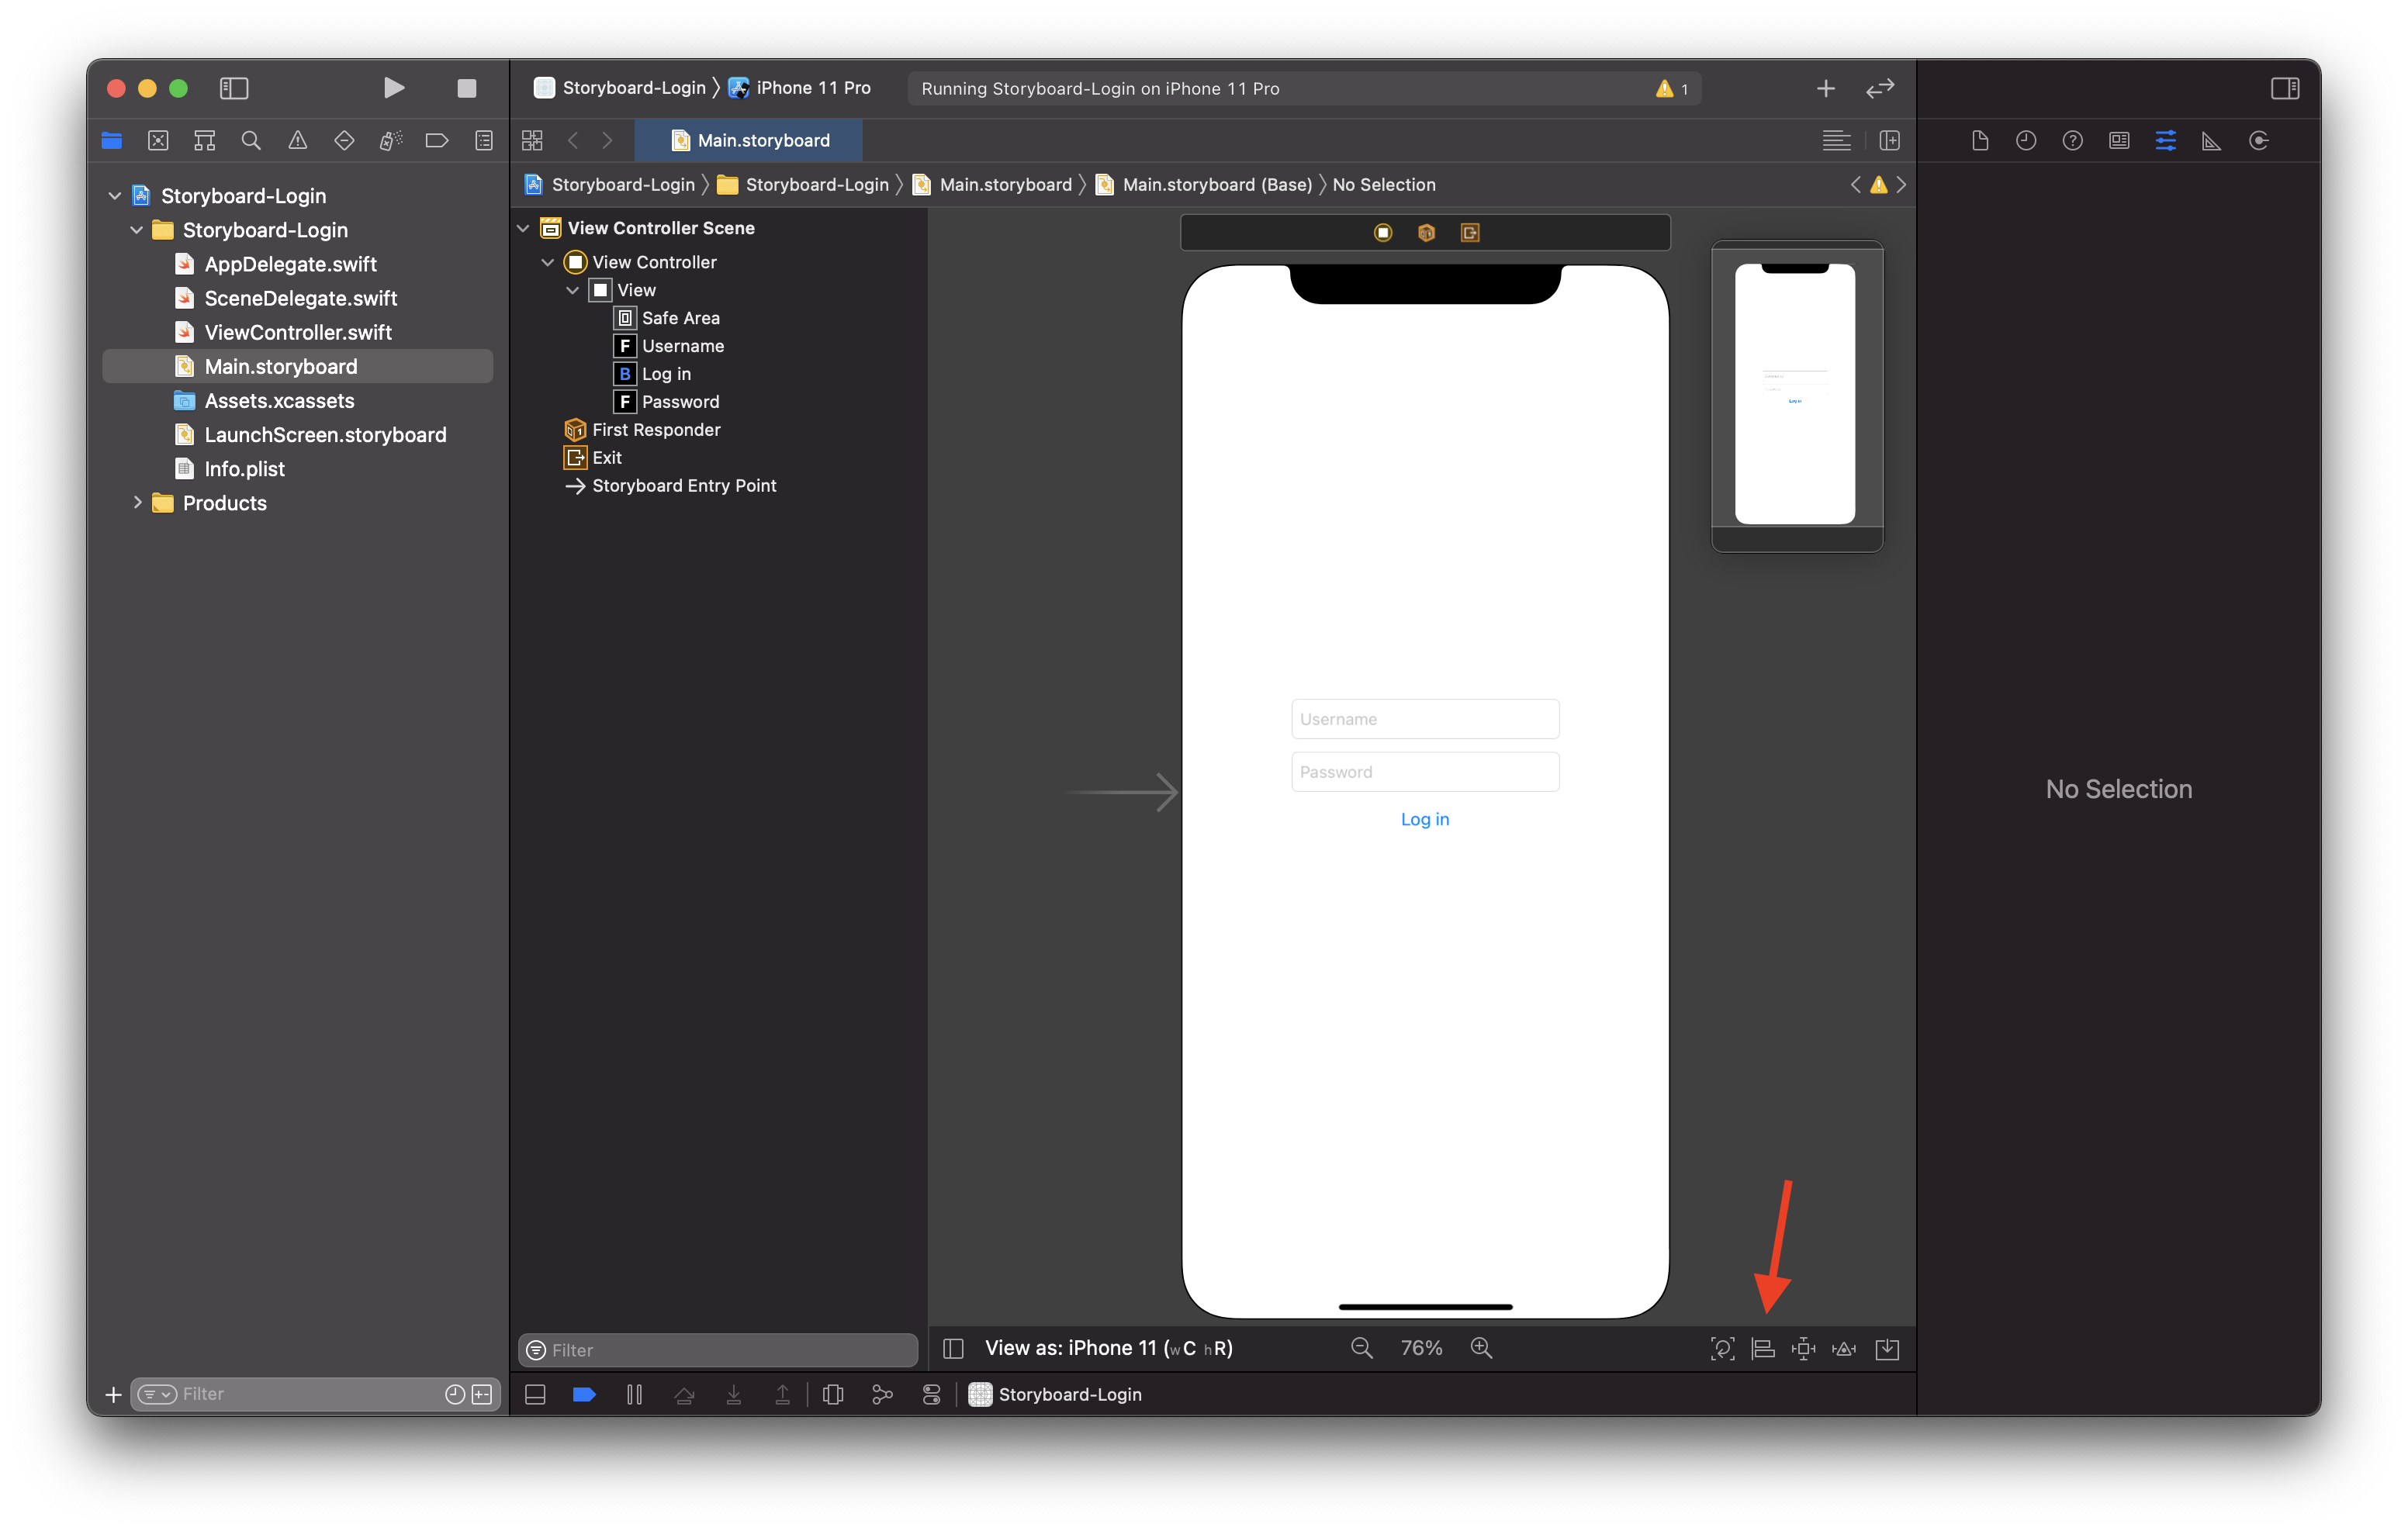
Now we have two text fields and a button placed and positioned how we want them.

At the top of Xcode, you should see one of two things: either a button with a blue App Store icon and the name of a device, or a small icon of a Mac laptop and "My Mac." This is how we choose where to run and test our app.
Click there and change the device to an iPhone, like the 11 or 12 Pro, then click the Play button to the left.
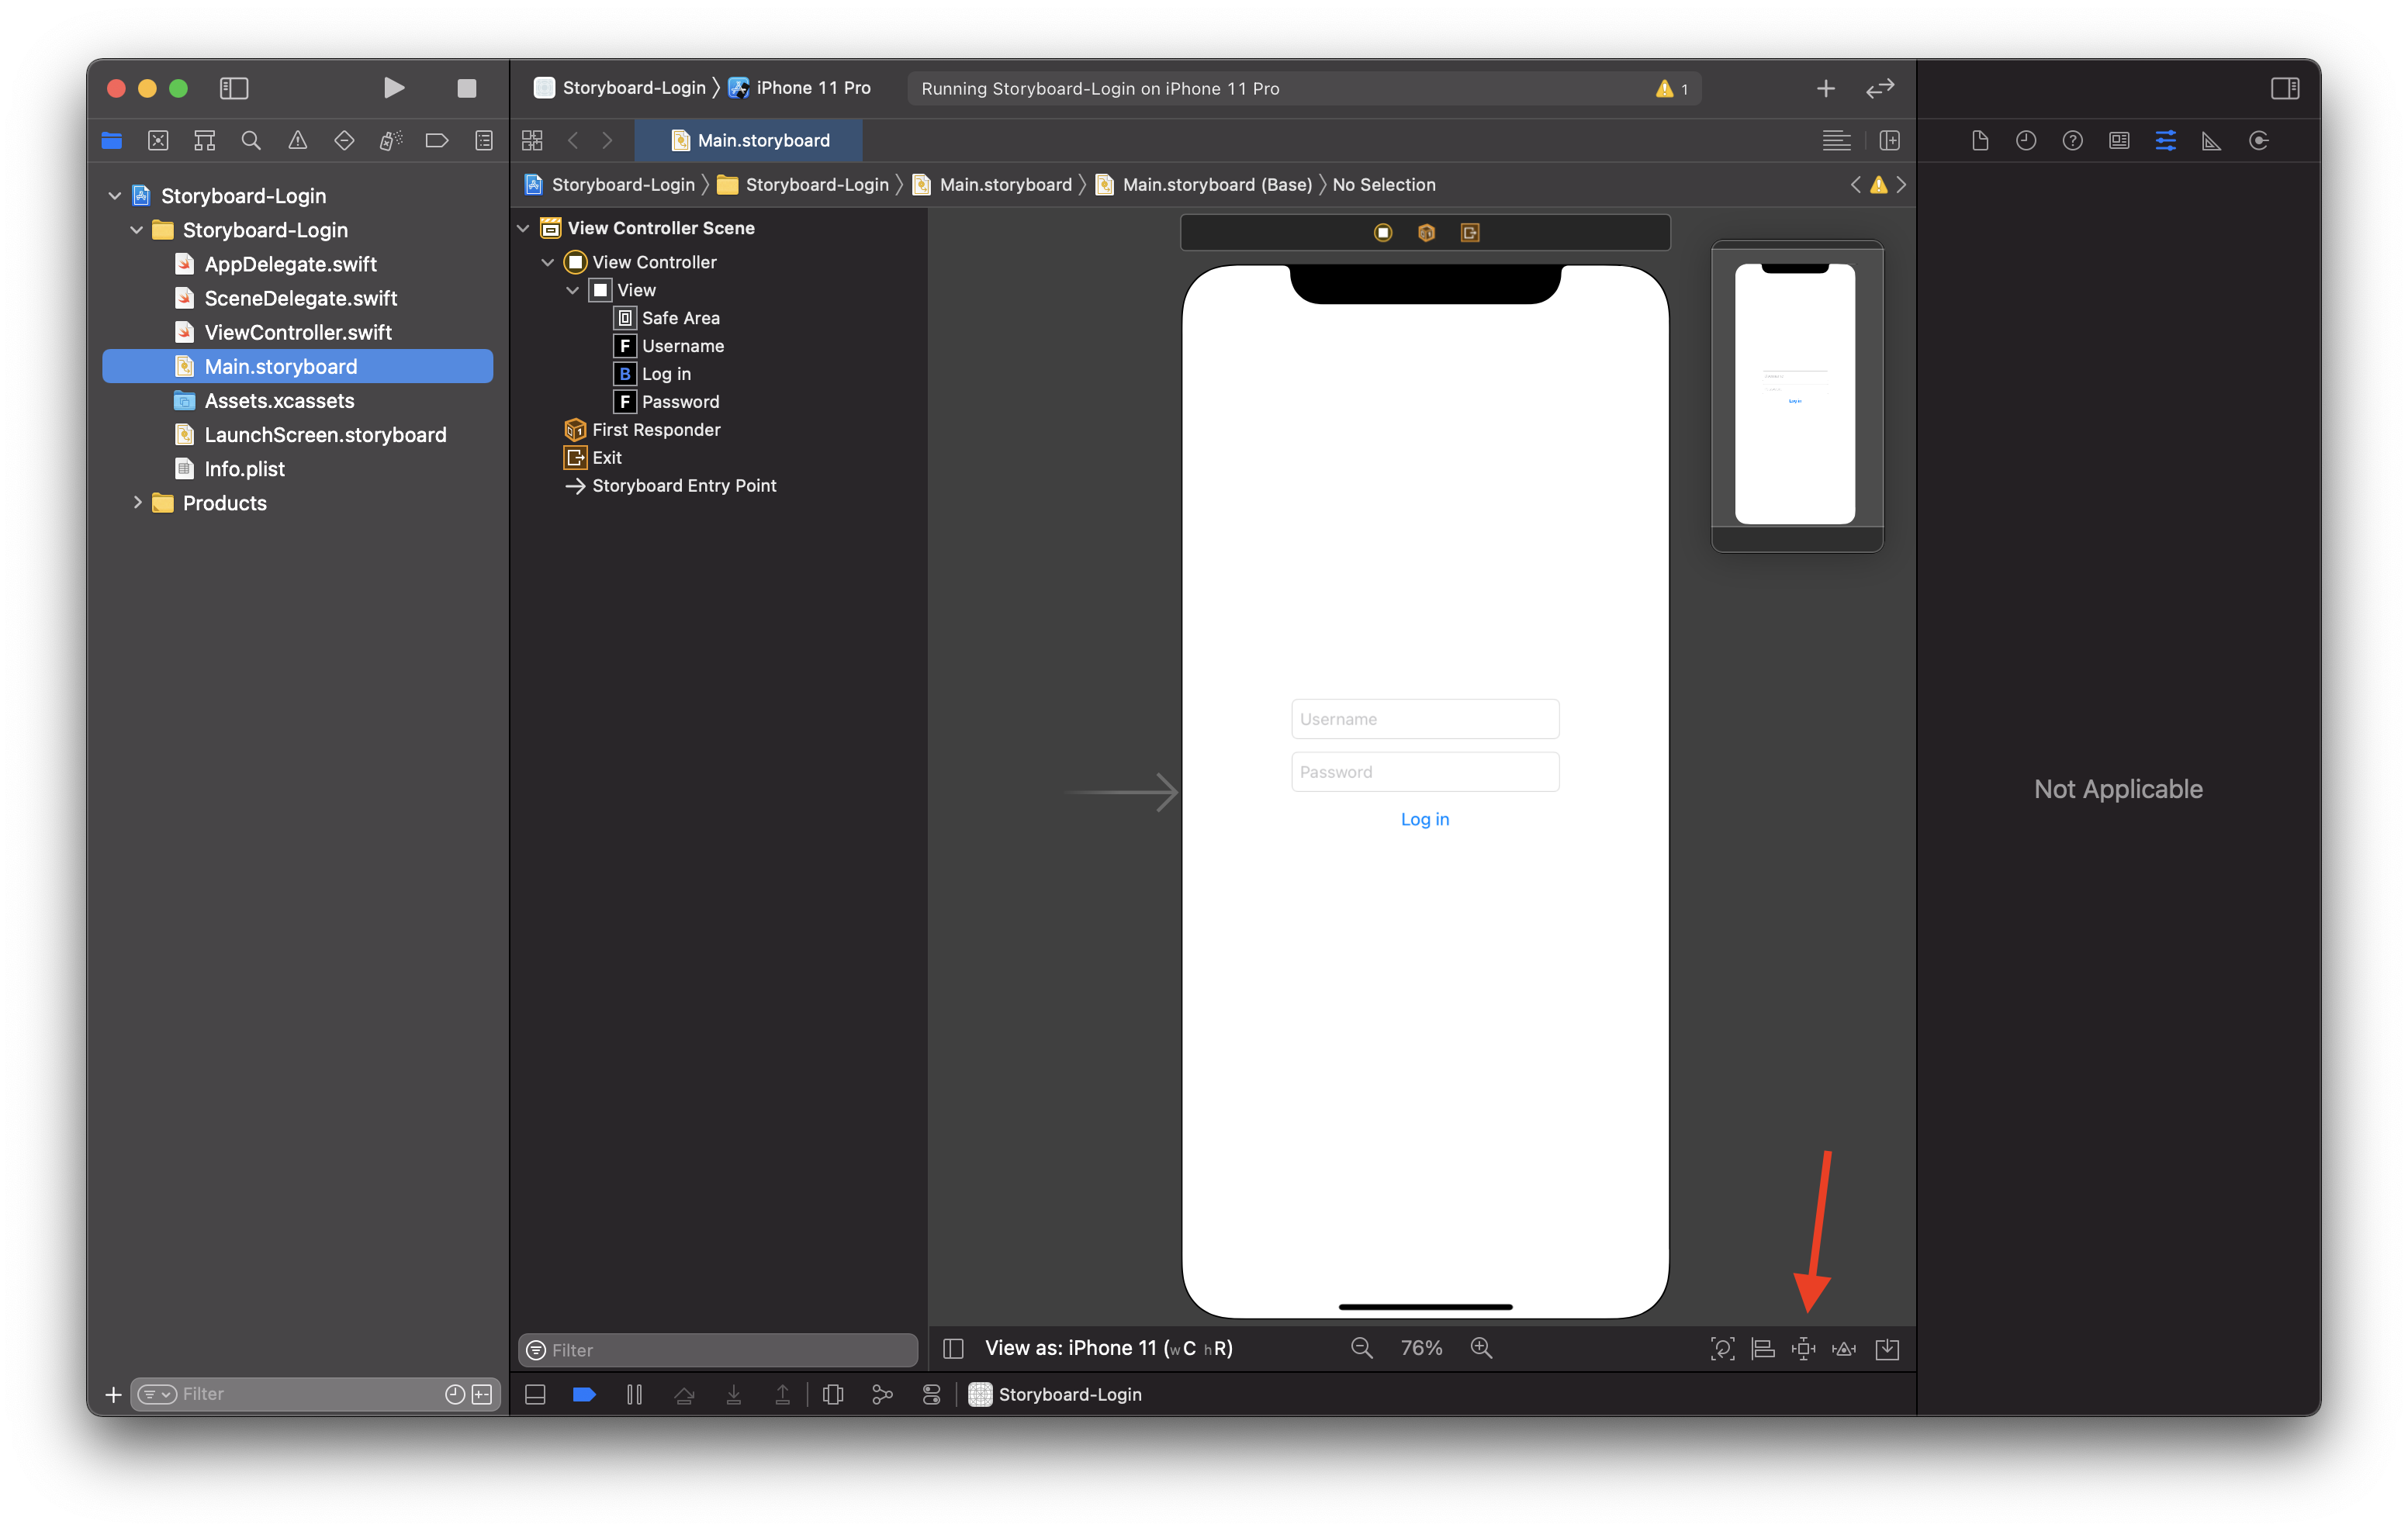
The app will run and eventually open in the simulator, and you should see the text fields and the button and be able to interact with them. However, they don't actually do anything yet (specifically the button) because we didn't write a single line of code, we just placed them onto the user interface.
Also, if you rotate the simulator by clicking the square with an arrow icon at the top of the simulator window, you'll notice that suddenly our objects disappear.
That's because when we placed them onto the storyboard, we didn't really give them a definitive position; they're kind of just floating at the location we placed them and therefore they didn't adapt to us rotating the screen.
We didn't tell our objects anything about where they should be in relation to the bounds of the screen or in relation to the other objects. As a result, our objects don't know how their position should or shouldn't change depending on the size of the screen or orientation, among other things.
Using Auto Layout to position the objects
To deal with this, we need to use Auto Layout. Now this article isn't about Auto Layout, so we're just going to focus on the bare minimum to get this working.
Auto Layout is based on the idea that we can apply "constraints" to our objects which will keep them aligned and positioned exactly how we want them relative to other objects.
We're going to add these constraints to our objects using the Align tool and via control-drags. Before we do this, make sure the document outline is visible by clicking the divided square icon at the bottom of the screen, next to where it says "View as..."

You should now see an outline of our storyboard which contains a view controller that can be expanded down further to its components. If you expand things far enough, you'll see the text fields and buttons we added.
The first constraint we're going to add is an alignment constraint for the top of the username text field to keep it aligned with (and a certain distance from) the top of the screen. You can do this by holding the command key and then clicking the username button and the safe area objects so that both are highlighted blue.
(Note: if you gave the text field the placeholder as we described above, this is what it will be labeled here. Xcode does its best to label things if it can so you can differentiate between similar objects. You can also click an object in the outline to highlight it on the storyboard if you're unsure.)
Now, go down to the bottom-right of the storyboard and look for the icon of a line with two rectangles attached to it; this is the Align tool.
Click it and you'll see a popup which will allow us to align the text field to various edges of the screen.
Check these boxes and give them the following values:
- Leading edges: 25
- Trailing edges: -25
- Top edges: 200
Click "Add 3 constraints" and you'll see three blue lines get added to the storyboard in the directions we chose.
The axis of the storyboard (point values) increases as you go down and to the right, so what these constraints are saying is "make sure the username field stays 25 points from the top of the screen, 25 points from the leading edge of the screen, and 25 points from the trailing edge of the screen."
The reason why the trailing value is negative is because we want the 25 points to be taken inwards from the edge. If we kept it positive like the other values, it would've been 25 points off the screen.
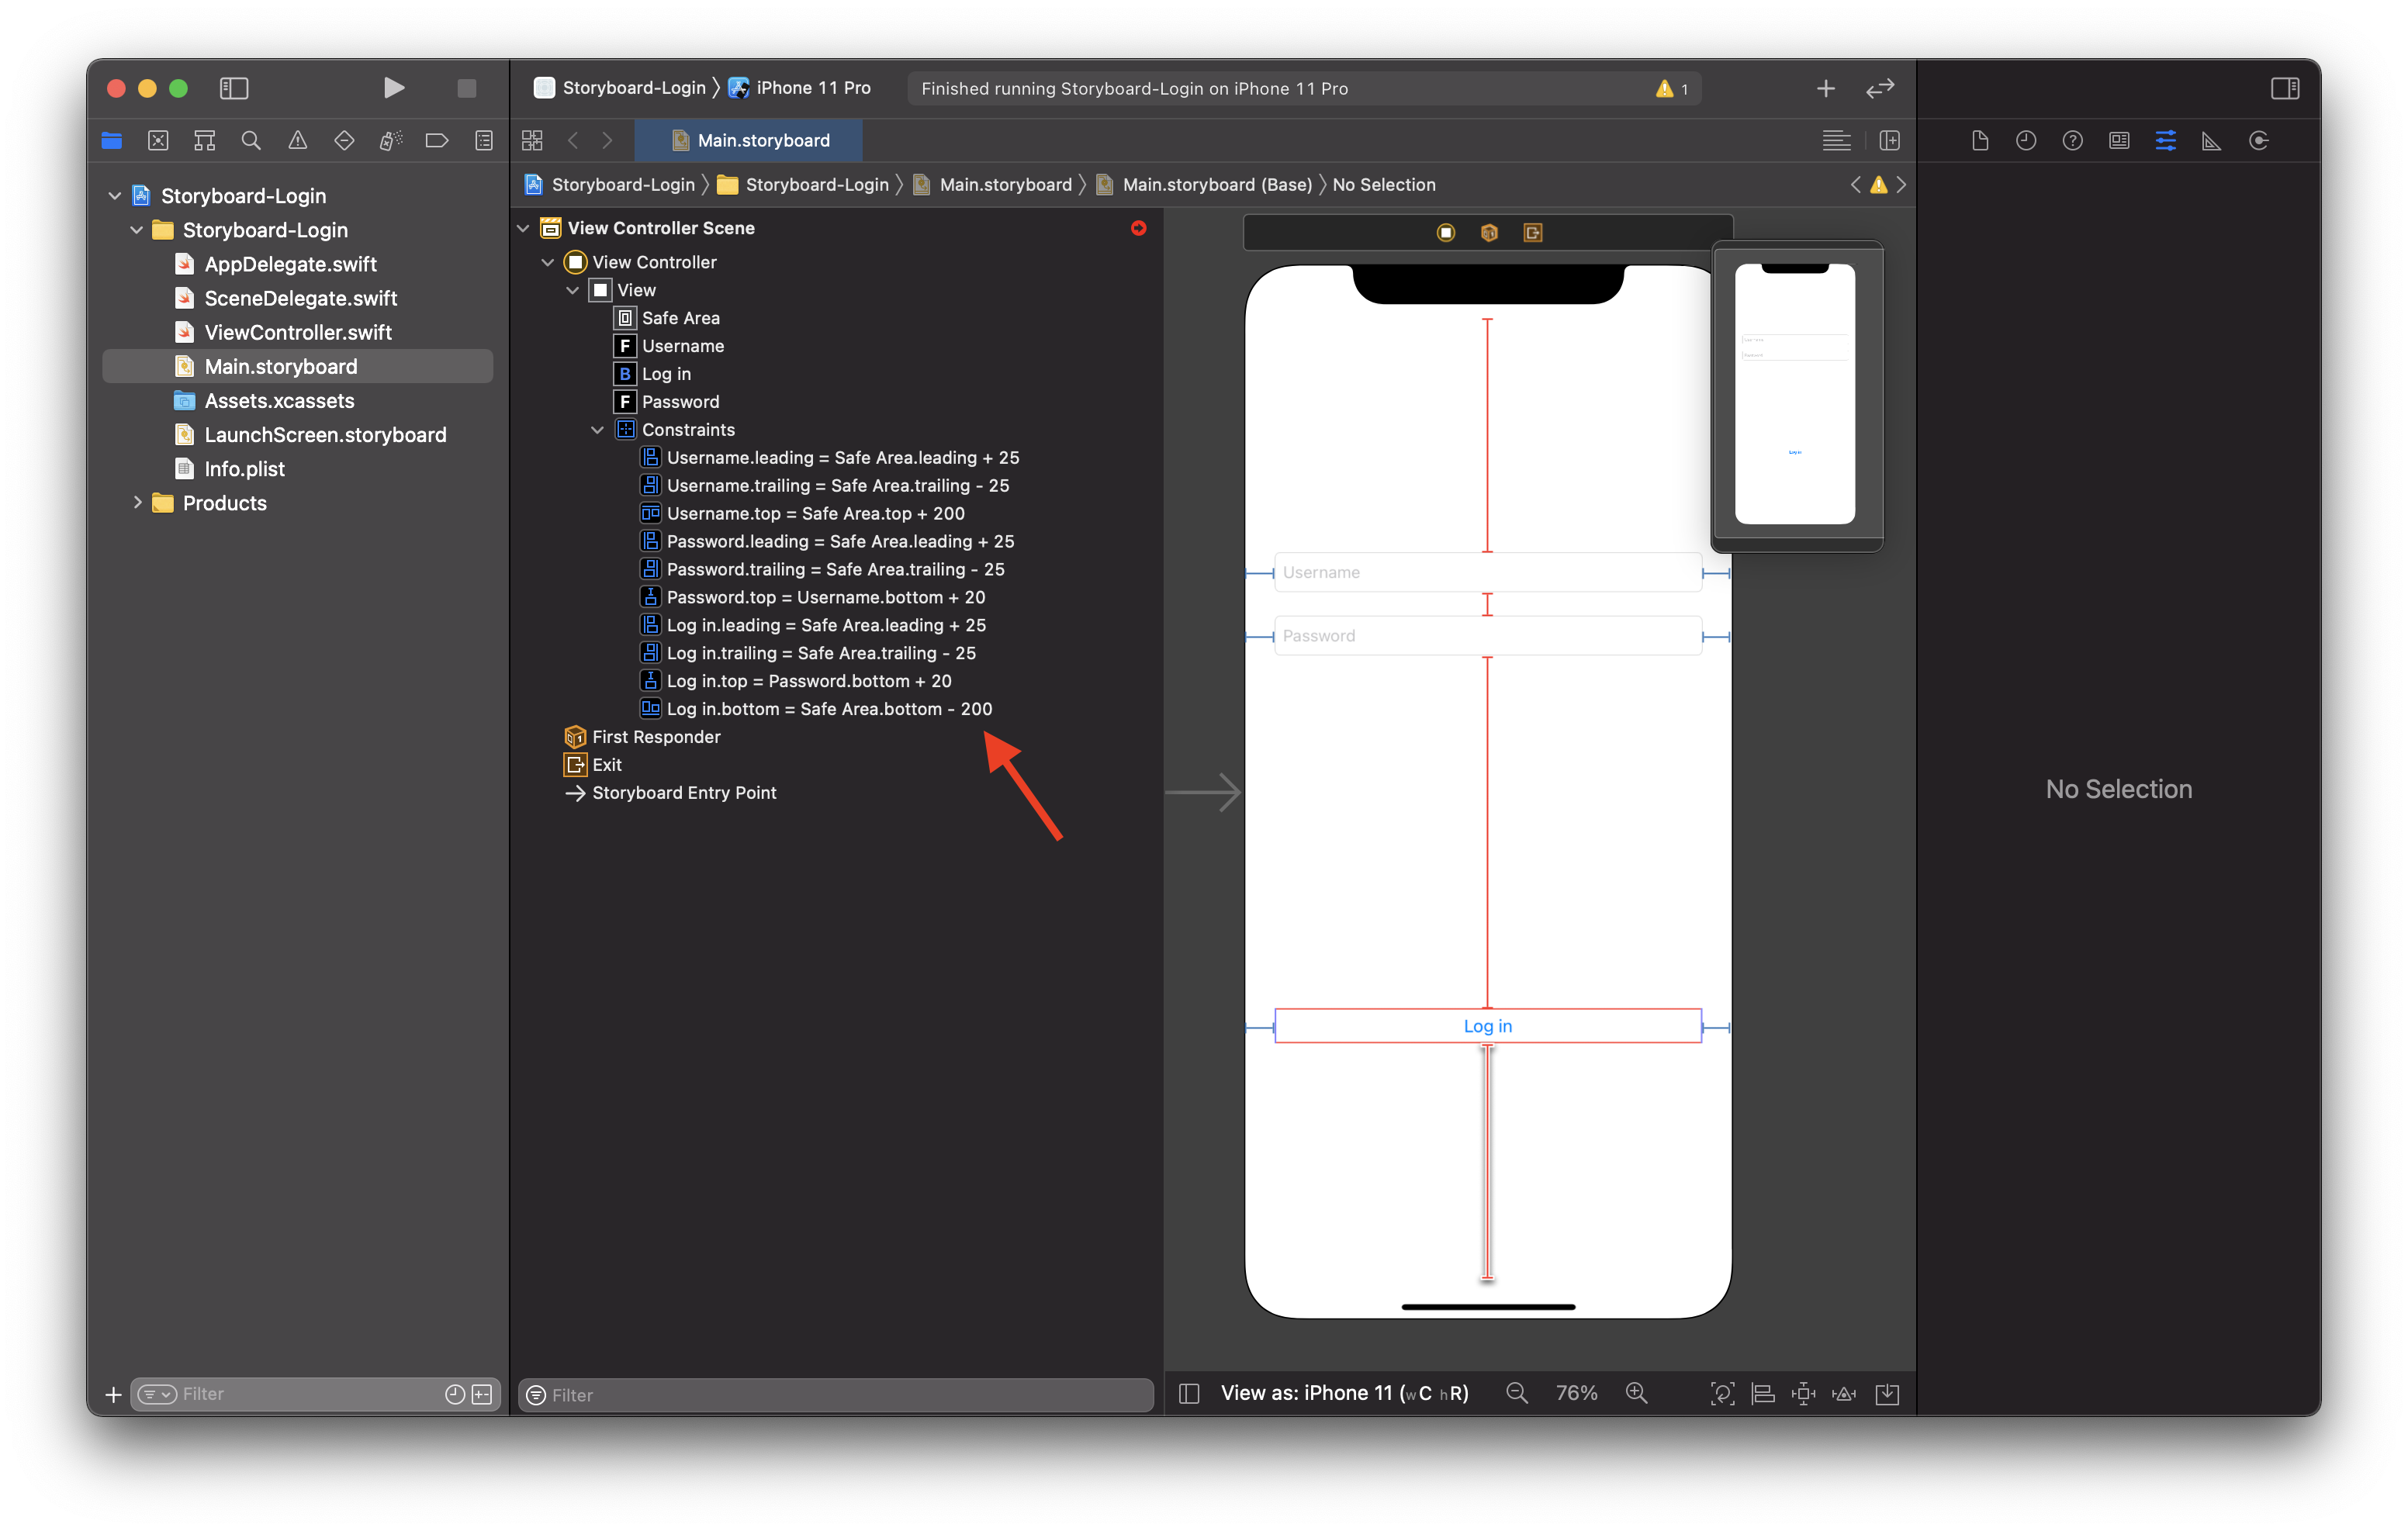
Now, in the document outline, you should see a new item called Constraints, which you can expand and see a list of the ones we currently have on our storyboard. Clicking one should open the Attributes inspector for that constraint in the right sidebar and you can modify values further there.
Next, we're going to constrain our password text field. This time, we're going to do mostly the same thing, except for one constraint which will be different.
Hold command again and choose both the password text field and the safe area in the document outline, then click the Align tool again to apply these values:
- Leading edges: 25
- Trailing edges: -25
Again, what we're saying here is that the leading and trailing sides of the password text field should be constrained or "anchored" 25 points away from the corresponding sides of the screen, no matter the size of the screen or orientation.
Click "Add 2 constraints" and blue lines on either side of the password text field should be added now.
Our third constraint for the password text field will be similar to what we did with the username text field, except we don't want to align it to the top edge of the screen. We want to constrain the field to the bottom of the username text field, so that no matter how we rotate our device and no matter what screen size we're using, the password field will be directly below the username text field.
To do this, click the password text field directly on the canvas, then click the icon directly next to the Align tool button that we used before; it's a square with lines on all four sides of it and it's called the Add New Constraints tool.
We want to constraint the top edge of the password text field, so click the top line (it should turn red) and type 20 into the box. You'll notice, it says "Spacing to nearest neighbor" so Xcode will figure out that the username text field is the password text field's closest neighbor at the top edge and constraint it to the username text field's bottom edge for us.
You should now see a line added to the storyboard between the username text field and the password text field.
For the log in button, we need to do the same thing as we did for the password text field plus an additional constraint for the bottom of the screen.
First, hold command and select the log in button and the safe area in the document outline. Then head over to the Align tool and create the following constraints:
- Leading edges: 25
- Trailing edges: -25
- Bottom edges: 200
What we're saying here is that the button should be 25 points from the left side of the screen, 25 points inward from the right side of the screen, and 200 points upward from the bottom of the screen.
Finally, let's click on just the button itself on the storyboard and use the Add New Constraints tool to add a top constraint with a value of 20, so the log in button will always be 20 points below the password text field.
However, you might notice that there is now a bit of a conflict here. We said the username text field should be 200 points from the top of the screen, but we also said the button should be 200 points from the bottom. Who's going to win and get exactly what they want?
You'll see our constraints on the storyboard have turned red, because Xcode isn't sure how to apply them. Your log in button may be off the bottom of the screen too.
In order to fix this, we need to go into the document outline and look for the constraint that has the bottom of the button equal to the bottom of the safe area.
Then, go into the Attributes inspector and change the relation of the two items to be "Less Than or Equal" which will allow iOS to give the bottom constraint a lesser value if necessary. This would allow the constant to potentially be less than 200 since the constraint between the top of the username text field and the top of the screen will force the other elements on the screen down.
Now, our button should moved closer to the bottom of the password text field like we wanted.
If we run the app now, things should look much better and remain on screen even if we rotate the device. We can also change the simulator to another device and it will all be properly spaced as well (albeit a bit stretched on iPads, but that's ok).
You can see that we essentially anchored all of our objects together in sort of a chained fashion.
The username text field is constrained to the top of the screen, then the password text field is constrained to the bottom of the username text field, and the button is constrained to the bottom of the password text field, and finally the button completes the chain by being constrained to the bottom of the screen.
This is a common pattern so you'll see this happen a lot with constraints. If you find that something isn't working as expected, you may be missing a constraint in your chain.
Auto Layout is not easy and I wouldn't expect anyone to understand it on the first, second, third, fourth, fifth try, or even beyond that. It takes time and practice using it to even have a basic working understanding of it. It can often cause a lot of frustration, so don't be disappointed or discouraged if things don't work as you expect them to or you don't get it right away, it's just the nature of Auto Layout!
Connecting the objects to the code
So, now that our design work is complete, we can shift to making these elements actually do something with code.
To do that, we’ll use what are called outlets and actions to bridge what we’ve done in our storyboard to our actual code.
Outlets give us direct access to the actual elements themselves, which will allow us to get at the different properties of them, like the username text fields current value, and so on.
Actions give us a spot in our code where we can handle what happens when someone takes action on a certain element, such as tapping the log in button.
These outlets and actions will be placed in what’s called a view controller, and while there are many different views on what the exact job description of a view controller is, we’ll keep it simple and say it’s it the main place for all of the code for our log in screen.
If you click the rectangular bar directly above the storyboard, then click the tab that looks like a business card in the right sidebar, also known as the Identity Inspector, you’ll notice the first field says “Class” and has a value of “ViewController.”
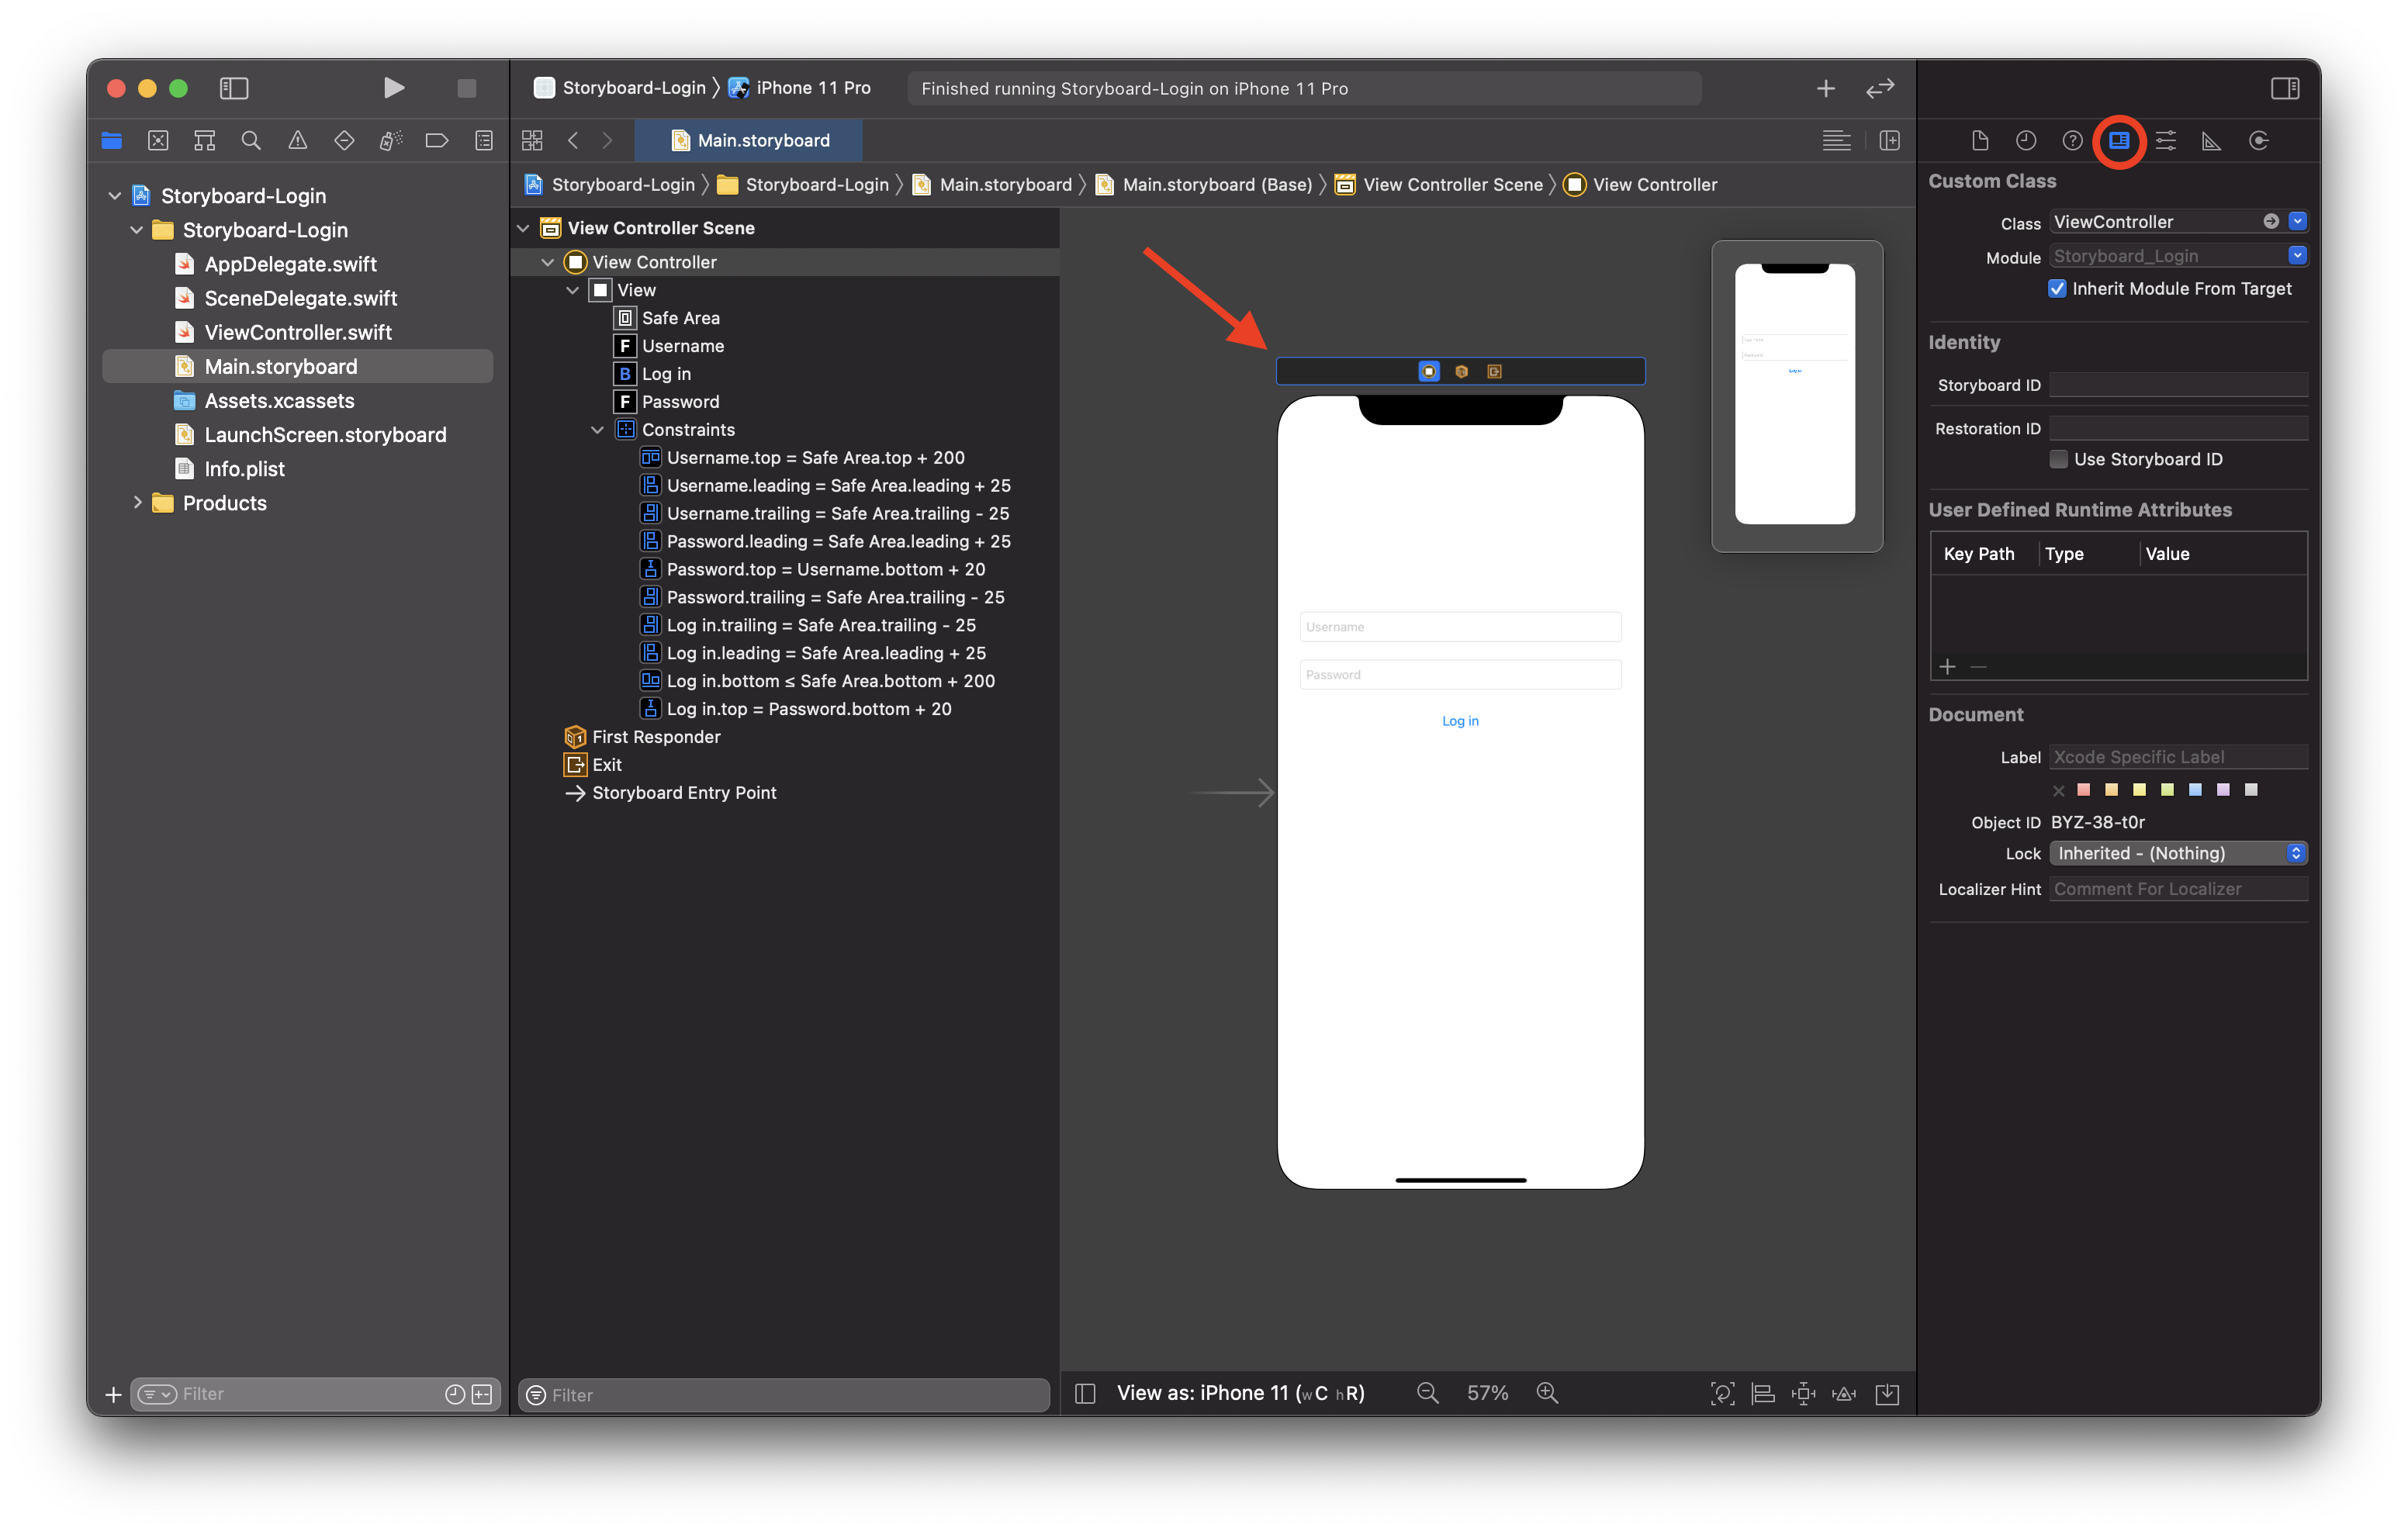
This is where you can tell Xcode what view controller class in your project should correspond to this storyboard.
Xcode was nice enough to provide us with the ViewController.swift file and hook it up to our storyboard when we created our project, so we won’t have to worry about that.
Since this is a log in screen, when someone taps the log in button, we need to be able to check whether or not the username and password are correct, otherwise we don’t want to allow them to log in.
Let's add three outlets to our view controller, one for our username text field, another for our password text field, and a third for the log in button. To do this, we’ll need to have the storyboard and our view controller open side by side.
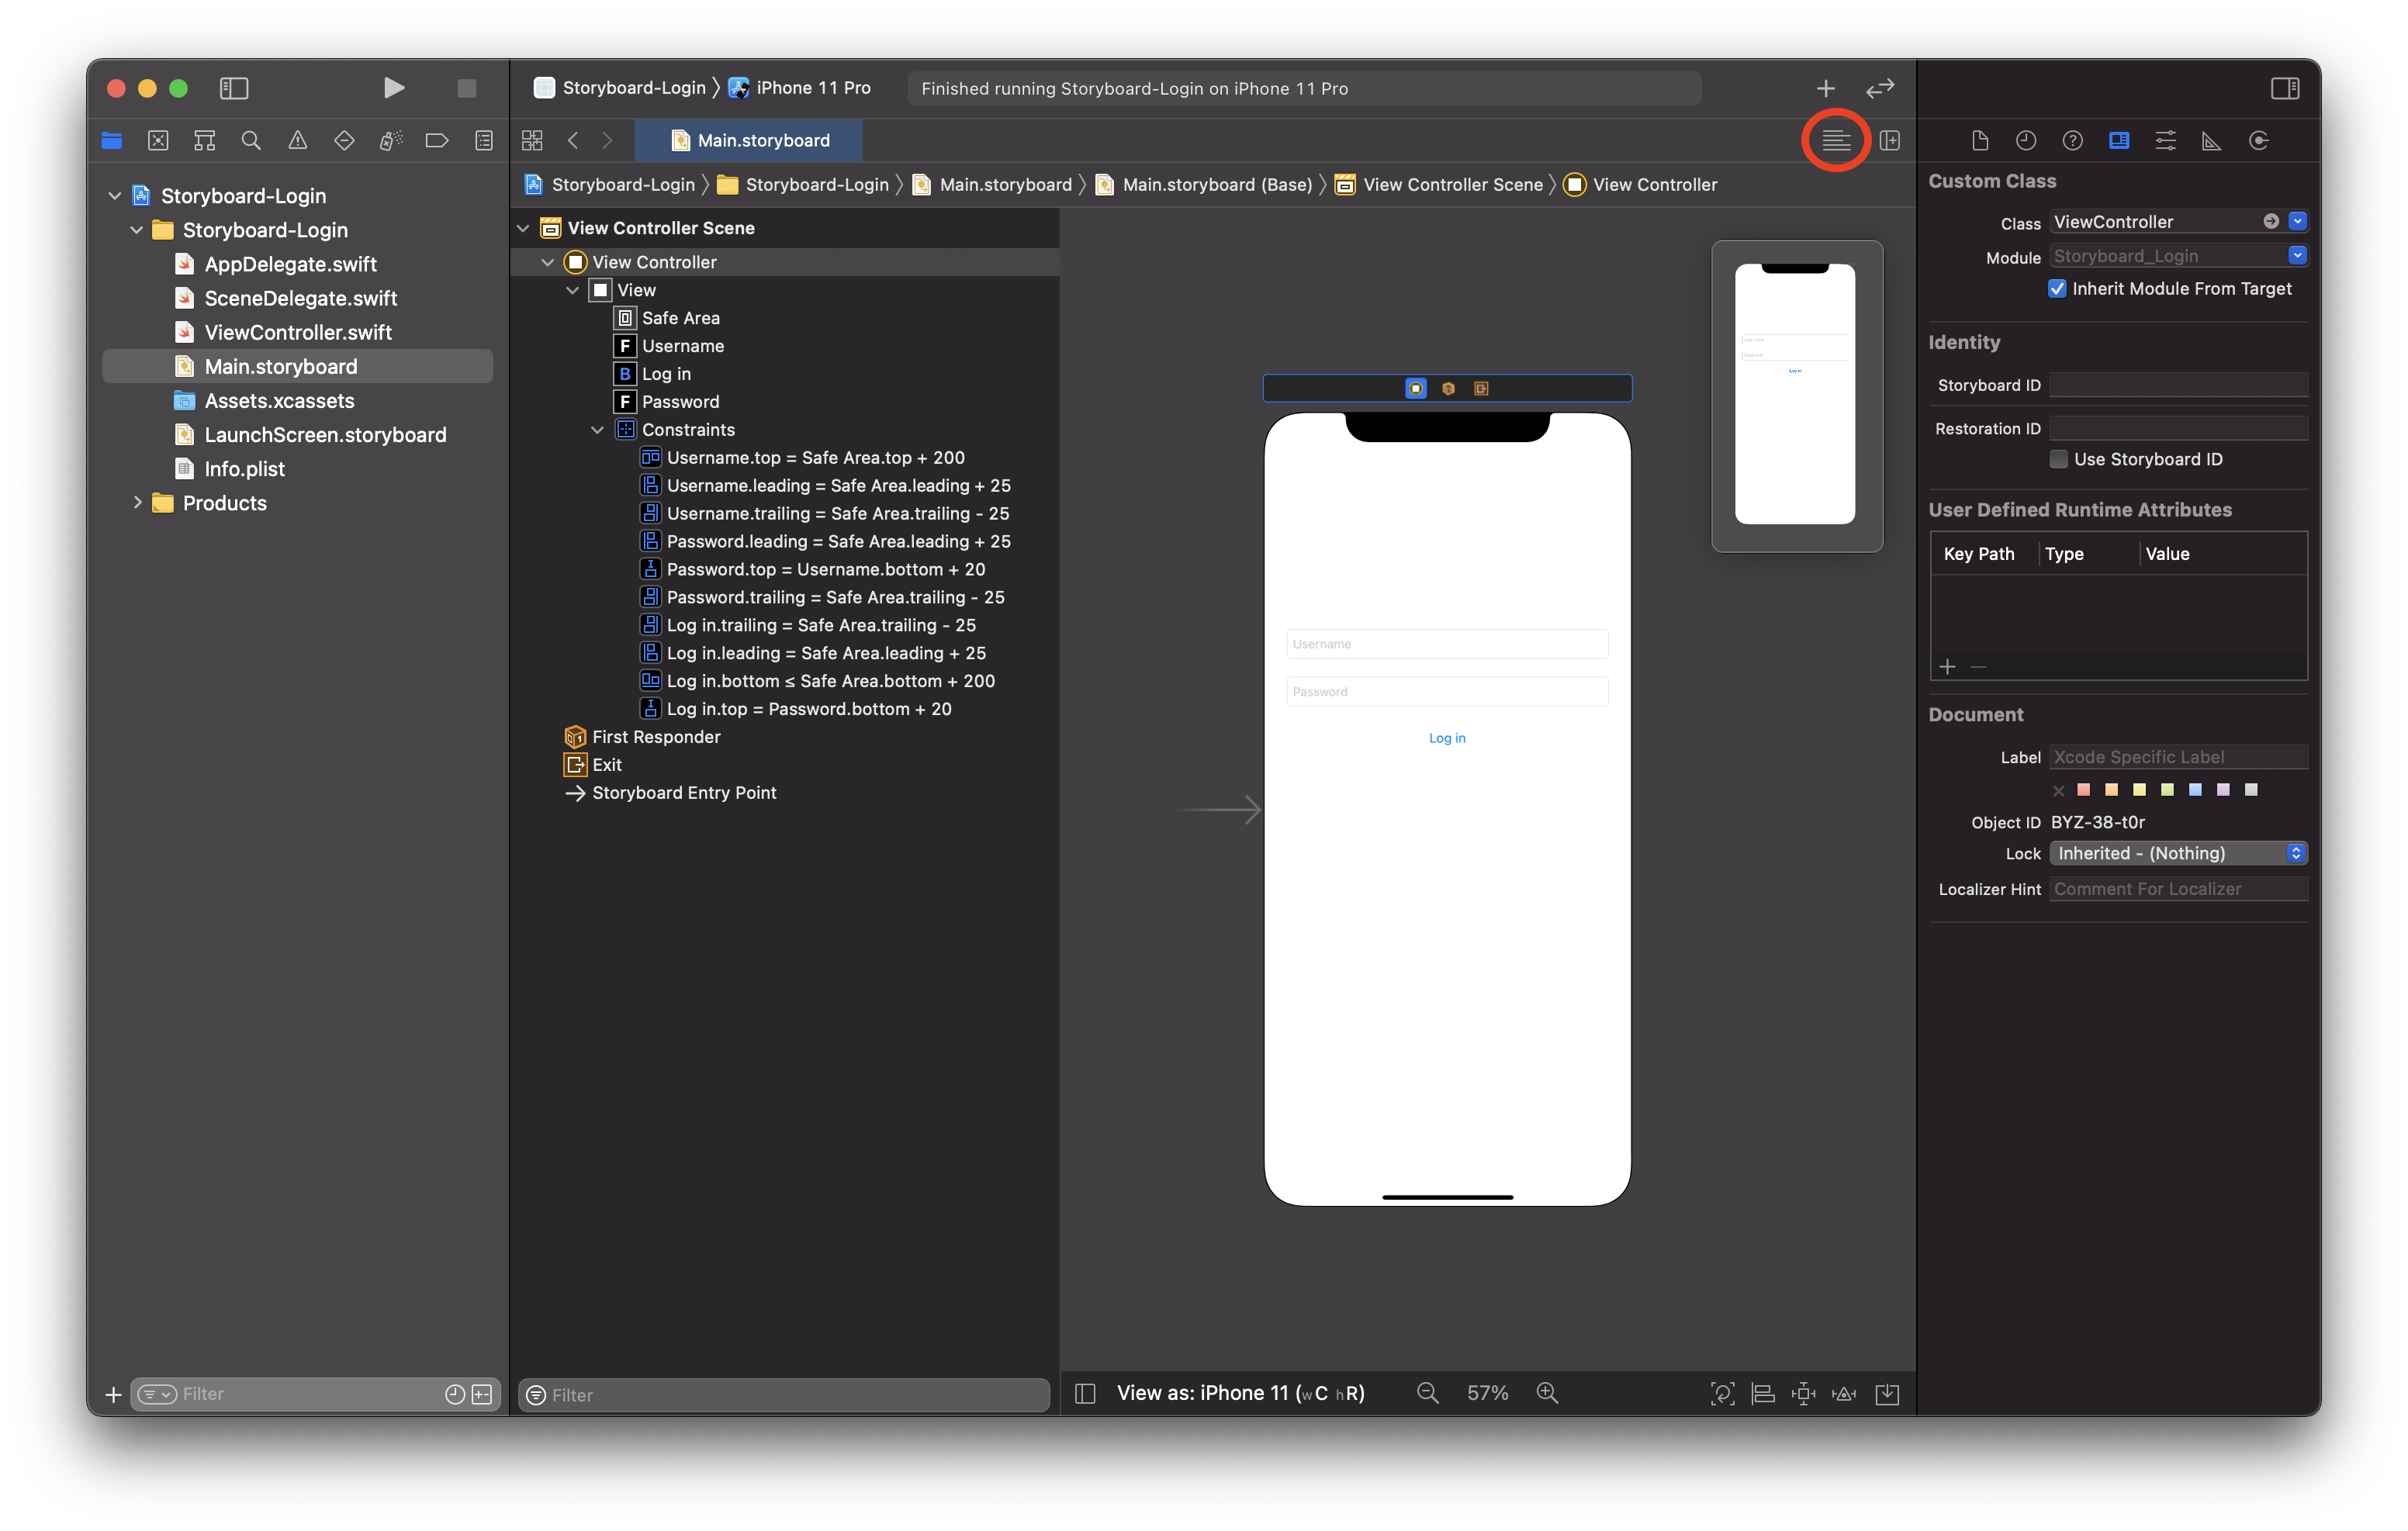
This can be done by opening the Main.storyboard file and then clicking the “Adjust Editor Options” button at the top right, which looks like a bunch of horizontal lines stacked on top of each other.
Then, you’ll want to click “Assistant” which will open the Assistant Editor for us and should give you the ViewController.swift file next to the storyboard.
Sometimes the Assistant Editor can be a little finicky, so if you see something other than the ViewController.swift file open next to the storyboard, you may need to click “Automatic” right above the editor and look for it in “Top Level Objects.”
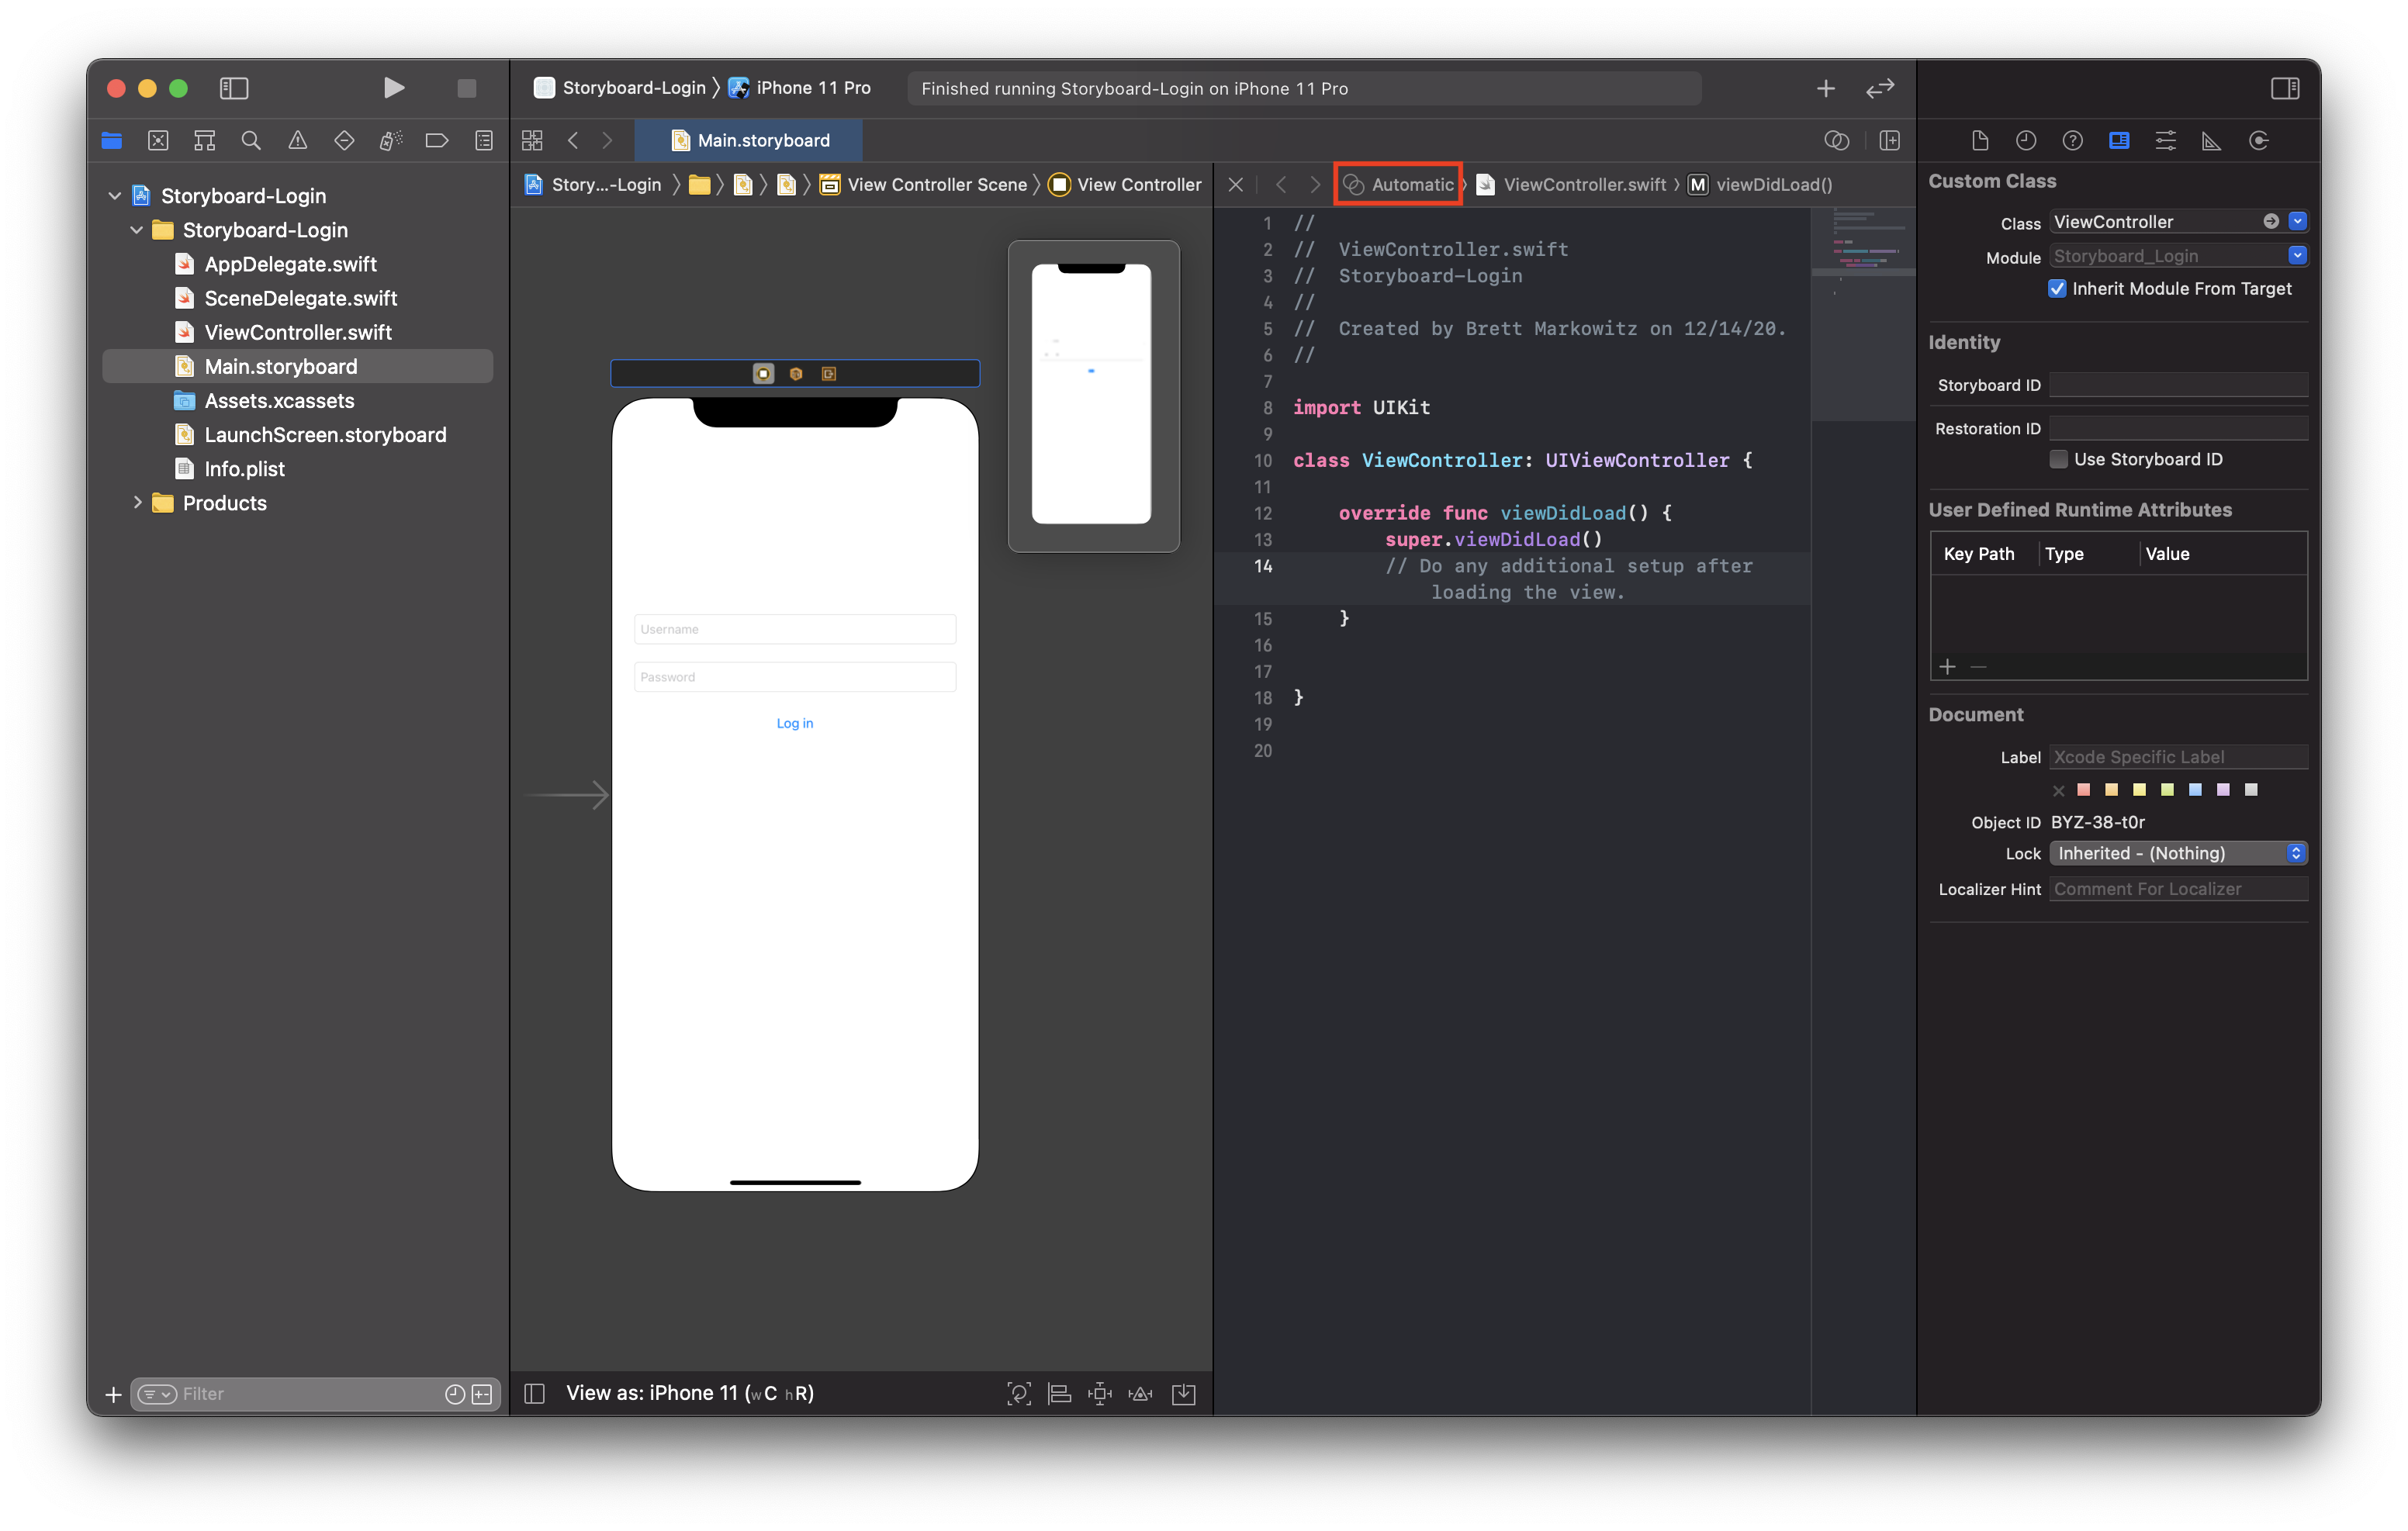
Let’s place an outlet - or reference - to our username text field into our view controller code. We can do this by first clicking the text field in the storyboard, then holding control and dragging from the text field to the code.
Once you reach the code, you’ll see a blue line indicating where the outlet will be placed once you let go. Place it above the viewDidLoad function that was already there.
When you let go, you’ll notice a popup appears for us to fill out. This is an outlet so we’ll leave the connection as is and we’ll give it a name of usernameTextField.
We’ll leave the type as UITextField and the make sure the drop down below that says “weak,” which is a concept that is beyond the scope of our example app.
The following code should’ve been added to our view controller:
@IBOutlet weak var usernameTextField: UITextField!
Xcode added a variable called usernameTextField - which is of type UITextField - to our code, but this isn’t just any regular var because it has two special properties.
It’s prefixed with @IBOutlet, which is our clue that this piece of code is connected to something in a storyboard. There is a small, filled-in circle where the line number would be on the left side of the editor, and if you move your mouse over it, the object this line of code is connected to will be highlighted in the storyboard (assuming you’ve left it open).
Let’s do this again for the password text field and the button. Be sure to control-drag and name them appropriately. Adding them manually just in the code isn't enough; Xcode won't know what they refer to.
When you’re done, your view controller should look something like this:
import UIKit

class ViewController: UIViewController {

    @IBOutlet weak var usernameTextField: UITextField!
    @IBOutlet weak var passwordTextField: UITextField!
    @IBOutlet weak var loginButton: UIButton!

    override func viewDidLoad() {
        super.viewDidLoad()
        // Do any additional setup after loading the view.
    }
}
Now we have three outlets, one for each object in our storyboard, and this means we can now directly access each one of them in our code and manipulate them as we see fit.
One more thing we’re going to need is a way to do something whenever someone presses our log in button.
We can handle this with an action, and we can create one almost the same way we created the outlets.
Once again click the button in the storyboard, then hold control and drag from the button to the code.
Ensure the blue line that you see goes anywhere within the view controller class’s curly braces, but outside the curly braces of the viewDidLoad function, then let go.
This time, we’re going to change the connection type from outlet to action.
Give it a name of something like loginButtonPressed and leave the type drop-down at Any. We’ll also keep the other two drop-downs the same; “Touch Up Inside” is the action we’re going to be responding to, and that’s basically a fancy way of describing your typical button tap and release.
Don’t worry too much about the drop-down that says “Sender” since it’s not important for this tutorial, but if you’re curious, it would come in handy in scenarios where you have multiple objects that will trigger the same action.
Click Connect and Xcode will generate an empty function for us with the name we provided.
import UIKit

class ViewController: UIViewController {

    @IBOutlet weak var usernameTextField: UITextField!
    @IBOutlet weak var passwordTextField: UITextField!
    @IBOutlet weak var loginButton: UIButton!

    override func viewDidLoad() {
        super.viewDidLoad()
        // Do any additional setup after loading the view.
    }

    @IBAction func loginButtonPressed(_ sender: Any) {
    }
}
Again, Xcode added two things for us as part of the function:
- The
@IBActionannotation - A small, filled circle in the place of the line number
Both of these things work together to tell Xcode that this function is connected to something in a storyboard.
This function is the code that will run every single time we press the log in button in our app.
Making our app actually do something
We have everything we need now to start writing the logic for our login screen, so we can close out of the storyboard.
This can be done by clicking the Venn diagram icon at the upper right corner of the editor, then clicking “Show Editor Only.” Now we can navigate to ViewController.swift using the left sidebar.
The first thing we need to do is establish what our valid username and password are. Let’s initialize these at somewhere at the top of our class:
let correctUsername = "user1"
let correctPassword = "testpassword"
Now, when the log in button is pressed, there are a few things we need to do:
- Check if what the user typed into the username text field matches the known username
- Check if what the user typed into the password text field matches the known password
- If both match, show an alert notifying the user that they’ve successfully logged in
- If one or both fields are incorrect, show an alert notifying the user that the credentials are incorrect
Let’s start by breaking down number 1 and number 2.
Inside our loginButtonPressed function, the first thing we can do is get the username and password typed by the user:
let typedUsername = usernameTextField.text
let typedPassword = passwordTextField.text
Then, we can check if they match the known username and password:
if typedUsername == knownUsername && typedPassword == knownPassword {
    // Credentials are correct, show an alert

} else {
    //Credentials are incorrect, show an alert
}
Regardless of whether the credentials are correct or not, we need to create an alert. An alert in iOS can be created with a UIAlertController. They typically have a title, a message, and one or more buttons, which can run code when pressed if we want.
You can find some information about them in Apple's Human Inteface Guidelines.
Here's what it looks like in code if we create a UIAlertController for the case where our credentials are correct and the case where they aren't:
if typedUsername == correctUsername && typedPassword == correctPassword {
    // Credentials are correct

    // 1. Create the success alert
    let alertController = UIAlertController(title: "Success", message: "The credentials are correct.", preferredStyle: .alert)

    // 2. Create an "OK" action
    let okAction = UIAlertAction(title: "OK", style: .default, handler: { _ in
        self.dismiss(animated: true, completion: nil)
    })

    // 3. Add the action to the alert
    alertController.addAction(okAction)

    // 4. Show the alert
    present(alertController, animated: true, completion: nil)
} else {
    // Credentials are incorrect

    // 1. Create the error alert
    let alertController = UIAlertController(title: "Error", message: "The credentials are incorrect.", preferredStyle: .alert)

    // 2. Create an "OK" action
    let okAction = UIAlertAction(title: "OK", style: .default, handler: { _ in
        self.dismiss(animated: true, completion: nil)
    })

    // 3. Add the action to the alert
    alertController.addAction(okAction)

    // 4. Show the alert
    present(alertController, animated: true, completion: nil)
}
In both cases, there are four things to do.
- Create the UIAlertController object and give it a title, message, and a preferred style. For our needs,
.alertwill work. - Create an action (or a button) for the alert. We only need one button in either case, one that says "OK" and will just dismiss the alert using a handler closure that will be executed when tapped.
- Add the action to the UIAlertController that we created.
- Show the alert on the screen.
You may notice that this looks pretty repetitive. The only things that are different in both cases are the title and message of the alert, so we can condense this code a little bit by breaking out those two strings and the creation of the alert, making our final version of the function look like this:
let typedUsername = usernameTextField.text
let typedPassword = passwordTextField.text

var alertTitle = ""
var alertMessage = ""

if typedUsername == correctUsername && typedPassword == correctPassword {
    // Credentials are correct
    alertTitle = "Success"
    alertMessage = "The credentials are correct."
} else {
    // Credentials are incorrect
    alertTitle = "Error"
    alertMessage = "The credentials are incorrect."
}

// 1. Create the alert
let alertController = UIAlertController(title: alertTitle, message: alertMessage, preferredStyle: .alert)

// 2. Create an "OK" action
let okAction = UIAlertAction(title: "OK", style: .default, handler: { _ in
    self.dismiss(animated: true, completion: nil)
})

// 3. Add the action to the alert
alertController.addAction(okAction)

// 4. Show the alert
present(alertController, animated: true, completion: nil)
If we run our app now, everything should work as we expect. We'll get an alert with a success message if we enter the right credentials or an alert with an error message if not.
So that's our sample app built with a storyboard. It's very simple, but that's deliberate so we can more easily see the differences between an app built with storyboards and app built programmatically.
In the next part of this series, we'll build the same app entirely in code, and after that, we'll take a look at some of the differences between the two approaches.
You can find the completed project from this post here.